![]() Fact checked
Fact checked ![]() We have a team of smart fact checkers. They make sure our content is accurate. They use the best sources like medical journals and government websites. You can find their names and profiles on the articles they check.
We have a team of smart fact checkers. They make sure our content is accurate. They use the best sources like medical journals and government websites. You can find their names and profiles on the articles they check.

Important: This article is for informational purposes only. Please read our full disclaimer for more details.
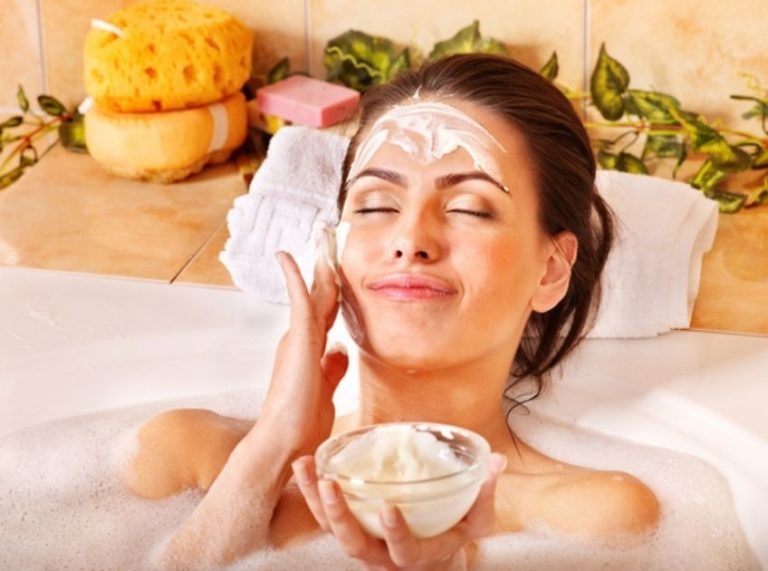
Tired of deodorants that leave rashes or contain questionable ingredients? If you’re seeking a gentle, natural, and effective alternative, homemade stick deodorants offer a clean switch. With a few kitchen staples, you can make a safe formula that fights odor—without irritating your skin.

This guide breaks down the benefits, science, and two expert DIY recipes so you can confidently create your deodorant tailored to your needs.
Say Goodbye to Harsh Chemicals with a Natural Deodorant
Conventional deodorants often contain aluminium, parabens, and synthetic fragrances—common culprits behind underarm irritation. Natural stick deodorants made at home are:
- Gentle on sensitive skin
- Free from toxic or harsh ingredients
- Customizable for your scent and skin type
- Cost-effective and eco-friendly
The Science Behind Sweat Control & Odor Neutralization
Natural deodorants don’t stop sweat—they neutralize odor and absorb moisture using key ingredients:
- Baking soda neutralizes odor-causing bacteria
- Arrowroot powder or cornstarch absorbs moisture
- Coconut oil offers antimicrobial properties
- Shea butter nourishes and protects the skin
- Essential oils provide natural fragrance and antibacterial benefits
Scientific support: Studies published in the Journal of Applied Microbiology confirm coconut oil’s antimicrobial effect against Staphylococcus bacteria, a major cause of body odor (1). Baking soda also shows pH-altering properties that make the skin less hospitable to bacteria (2).
When to Press Pause: Know When It’s Not Working
Discontinue use if you experience:
- Redness, rash, or itching under the arms
- Excessive dryness or peeling skin
- Persistent body odor even after multiple uses
- Burning sensation after application
You may be reacting to baking soda or essential oils—opt for sensitive-skin recipes instead.
Make It Yours: How to Adjust Your Formula
Tweak ingredient quantities to better suit your needs:
- Reduce baking soda if you have sensitive skin
- Add more shea butter for a creamier texture
- Use tea tree or lavender oil for extra antibacterial action
- Omit essential oils for a fragrance-free version
Customize the consistency based on your climate—add beeswax for firmer texture in hot regions.
Which Skin Types Benefit the Most?
Homemade stick deodorants are suitable for:
- Normal to combination skin
- Sensitive skin (with low-baking-soda recipes)
- Dry skin when made with nourishing oils and butters
- Post-shaved underarms when essential oils are used minimally
Avoid if you have open cuts, inflamed rashes, or known allergies to ingredients like baking soda or coconut oil.
Is Homemade Deodorant Safe?
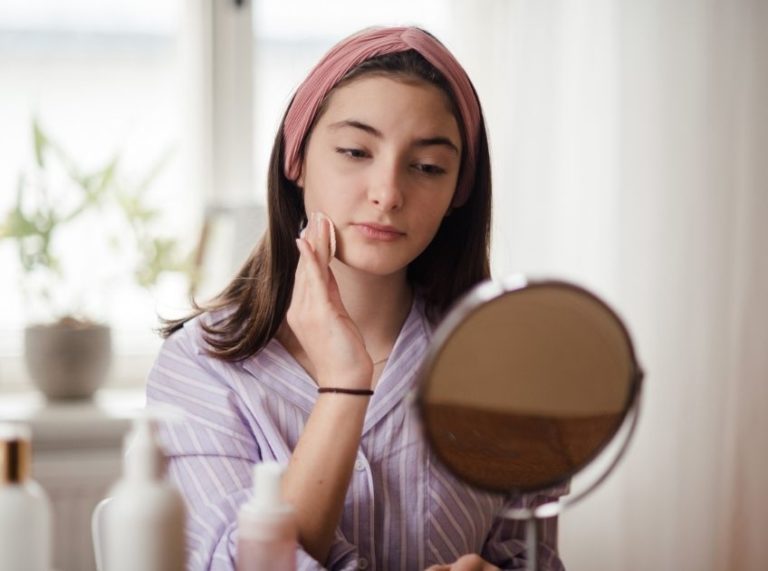
Yes, when formulated correctly and stored properly, homemade deodorant is safe. To ensure safety:
- Use clean, dry containers to prevent contamination
- Perform a patch test before full application
- Avoid applying to broken or irritated skin
- Store in a cool place to prevent melting or spoilage
Best 2 DIY Homemade Stick Deodorant
DIY #1: Classic Baking Soda & Coconut Oil Deodorant Stick
This tried-and-true formula keeps odor at bay and leaves your underarms soft and fresh. Great for normal skin types looking for an effective everyday solution.
Ingredients:
- 2 tablespoons baking soda
- 3 tablespoons arrowroot powder or cornstarch
- 3 tablespoons coconut oil
- 2 tablespoons shea butter
- 10 drops of lavender essential oil
- 1 tablespoon beeswax pellets (for firmness)
Directions:
- Melt coconut oil, shea butter, and beeswax in a double boiler.
- Remove from heat and stir in baking soda and arrowroot powder.
- Add essential oil and mix until smooth.
- Pour into an empty deodorant stick mold and let it set for 3–4 hours.
How to Apply:
- Twist up the stick and apply 1–2 swipes to clean, dry underarms.
- Allow it to absorb for a few minutes before dressing.
- Reapply during the day if needed.
- Store in a cool, dry place.
Pro Tip: For extra freshness, keep your stick in the fridge during summer months.
DIY #2: Sensitive Skin Deodorant with Clay & Aloe Butter
This gentle version uses bentonite clay and aloe butter to soothe the skin while still neutralizing odor. Perfect for easily irritated or post-shave skin.
Ingredients:
- 1 tablespoon bentonite clay
- 2 tablespoons arrowroot powder
- 2 tablespoons aloe butter (or shea butter)
- 2 tablespoons coconut oil
- 1 tablespoon beeswax
- 5 drops of chamomile essential oil
Directions:
- Melt aloe butter, coconut oil, and beeswax in a double boiler.
- Stir in arrowroot and bentonite clay until fully blended.
- Add chamomile essential oil and mix well.
- Pour into stick molds and let them set completely.
How to Apply:
- Apply a thin layer to clean underarms once a day.
- Allow to dry fully before dressing to avoid staining.
- Reapply after intense workouts if needed.
- Store in a cool space to maintain texture.
Pro Tip: Use a non-metal spoon when handling bentonite clay—it reacts with metal and loses potency.
Frequently Asked Questions (FAQ’S)
1. Does homemade deodorant stop sweating?
A. No, it doesn’t block sweat glands like antiperspirants. It neutralizes odor and absorbs moisture.
2. Can I use it right after shaving?
A. Yes, but choose a sensitive formula with no or minimal essential oils to avoid irritation.
3. How long does it last on the skin?
A. Typically 6–12 hours, depending on your activity level and body chemistry. Reapply as needed.
Homemade stick deodorant is more than a DIY project—it’s a skincare upgrade. You control the ingredients, avoid irritants, and get a personalized formula that truly respects your skin. Whether you’re after strength or sensitivity, there’s a blend that fits your needs.