![]() Fact checked
Fact checked ![]() We have a team of smart fact checkers. They make sure our content is accurate. They use the best sources like medical journals and government websites. You can find their names and profiles on the articles they check.
We have a team of smart fact checkers. They make sure our content is accurate. They use the best sources like medical journals and government websites. You can find their names and profiles on the articles they check.

Important: This article is for informational purposes only. Please read our full disclaimer for more details.
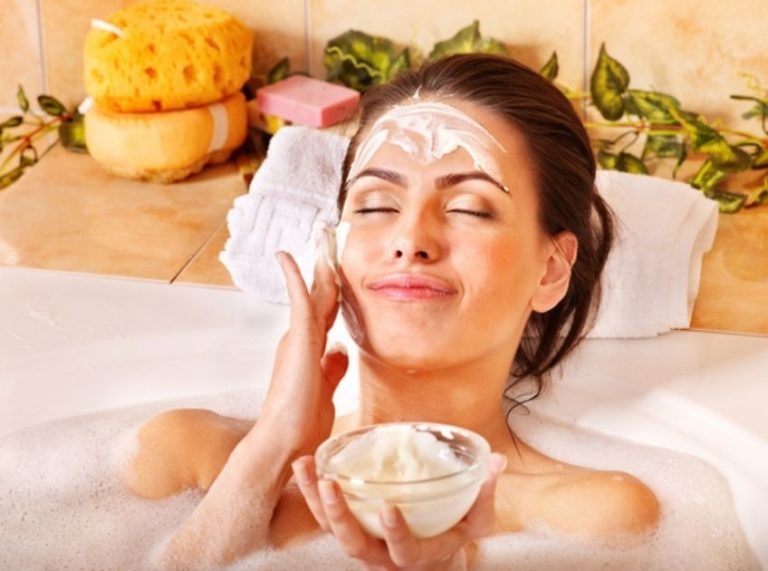
Hyaluronic acid is the gold standard for deep skin hydration. If your skin feels dull, flaky, or tight, it’s probably begging for moisture. This DIY serum brings bounce and glow without the high-end price tag. Best of all, it’s easy, affordable, and completely customizable.
Article Contains
Why Everyone’s Raving About Hyaluronic Acid
Hyaluronic acid (1) has become a must-have ingredient in modern skincare, and for good reason. Whether you’re dealing with dryness, fine lines, or dullness, this moisture-binding molecule offers impressive results that rival high-end treatments. Here’s what makes it a true skin savior:
- Deep Hydration That Lasts:
Hyaluronic acid can hold up to 1000 times its weight in water. When applied to the skin, it draws moisture from the environment or deeper layers of the skin to hydrate the surface, creating a soft, supple feel that lasts throughout the day. - Plumper, Younger-Looking Skin:
As we age, our natural hyaluronic acid levels decline, leading to volume loss and fine lines. Topical application helps temporarily fill in and smooth out those fine lines by boosting moisture retention, giving the skin a plumper, more youthful appearance. - Soothes and Repairs the Skin Barrier:
Hyaluronic acid supports skin regeneration and strengthens the skin’s protective barrier. This is especially helpful for sensitive, damaged, or inflamed skin. It can reduce redness and assist in healing after sunburns or minor skin irritations (2). - Natural Glow Enhancer:
Well-hydrated skin reflects light better and appears more radiant. Using hyaluronic acid daily helps bring out a dewy, fresh-faced glow without making your skin oily or greasy.
This serum is especially beneficial for skin that feels tight, flaky, or dull due to dehydration or harsh weather conditions. With consistent use, your skin becomes visibly softer, smoother, and more resilient.
What Makes This Serum Work?
Hyaluronic acid isn’t just a buzzword — it’s backed by solid science. Studies show it improves skin elasticity, hydration, and reduces wrinkles (1).
Key Components:
- Hyaluronic Acid Powder: The moisture magnet that plumps skin (3)
- Distilled Water or Rose Water: Acts as a soothing, pure base
- Glycerin (optional): Locks in hydration and softens skin
- Preservative (like Leucidal): Prevents bacterial growth if storing longer than a week
When to Stop Using It
Discontinue use if you notice:
- Redness or itching
- Breakouts or increased oiliness
- Tightness or dryness in very low humidity (hyaluronic acid can draw moisture from your skin in dry air)
Can You Adjust the Formula?
Yes! For lighter hydration:
- Use 0.1% hyaluronic acid powder
For deeper hydration (normal to dry skin):
- Use 1% hyaluronic acid powder (requires thickening and slow mixing)
Always stir slowly to avoid clumps and allow it to sit in the fridge for full hydration absorption (up to 12 hours).
Who Should Use This Serum?
Best suited for:
- Normal
- Dry
- Combination
- Dehydrated oily skin
Not ideal for:
- Acne-prone skin (if not paired with the right moisturizer)
- Skin in low-humidity climates (unless layered under a cream)
Is It Safe?
Yes, hyaluronic acid is generally very safe. It’s non-irritating, fragrance-free, and works well in most skincare routines. Just ensure:
- Clean, sanitized tools
- Use a preservative if keeping for more than 7 days
- Always patch test new formulas
2 Best DIY Hyaluronic Acid Serums
DIY Hyaluronic Acid Serum Recipe #1: Classic 1% Hydration Boost
This simple serum delivers intense hydration for dry, dull, or flaky skin. Perfect for daily use.
Ingredients:
- 1/4 tsp hyaluronic acid powder (high molecular weight)
- 1/4 cup distilled or rose water
- 1/4 tsp glycerin (optional)
- 2-3 drops of preservative (Leucidal, if storing longer than 7 days)
Directions to Use:
- Add water and glycerin to a sterilized glass container
- Sprinkle hyaluronic acid powder on top (don’t stir)
- Refrigerate for 8–12 hours until fully dissolved
- Stir gently, then add preservative if using
How to Apply:
- Cleanse your face
- While damp, apply 3–4 drops of serum
- Gently press into the skin
- Follow with moisturizer
DIY Hyaluronic Acid Serum Recipe #2: Rose Glow Hydration Serum
A gentle twist with rose water and aloe vera, perfect for sensitive or irritated skin.
Ingredients:
- 1/4 tsp hyaluronic acid powder
- 1/4 cup rose water
- 1 tsp aloe vera gel (pure)
- 3 drops of vitamin E oil
- Preservative (optional)
Directions to Use:
- Combine rose water and aloe in a glass jar
- Sprinkle in the hyaluronic acid and wait 8–12 hours in the fridge
- Stir until smooth, then add vitamin E and preservative
How to Apply:
- Use on clean, damp skin
- Apply a few drops over the face and neck
- Let absorb fully
- Seal in with a nourishing cream
Frequently Asked Questions (FAQ’S)
1. Can I make this serum without a preservative?
A. Yes, but use it within 5–7 days and store it in the fridge.
2. Can I use this serum under makeup?
A. Absolutely. It preps the skin and gives a smooth, hydrated base.
3. Why does my serum feel sticky?
A. You may have used too much hyaluronic acid. Try reducing to 0.1% concentration.
Making your hyaluronic acid serum at home is easier than you think. With just a few ingredients, you can hydrate, plump, and refresh your skin naturally. Whether you’re battling dryness or just want that healthy glow, this DIY gives you results without the splurge.