![]() Fact checked
Fact checked ![]() We have a team of smart fact checkers. They make sure our content is accurate. They use the best sources like medical journals and government websites. You can find their names and profiles on the articles they check.
We have a team of smart fact checkers. They make sure our content is accurate. They use the best sources like medical journals and government websites. You can find their names and profiles on the articles they check.

Important: This article is for informational purposes only. Please read our full disclaimer for more details.
Discover the natural way to glowing skin with this simple, expert-backed DIY Looking for a skin cream that brings out your natural glow, without harsh chemicals? A homemade papaya face cream might be the answer. Papaya is known for its brightening and exfoliating powers, making it a favourite in natural skincare.
This blog will show you how to create your papaya cream at home, plus the benefits, scientific reasons behind each ingredient, and who should use it.
Unlock Radiance Naturally with Papaya Cream
Tired of dull skin or dark spots? Papaya cream is packed with skin-loving enzymes that gently exfoliate and nourish. Combined with natural oils and humectants, it can brighten your complexion while keeping it soft and hydrated.
Homemade versions are free from artificial preservatives, offering a clean, customizable alternative to store-bought creams.
Why You’ll Love Using Papaya Face Cream
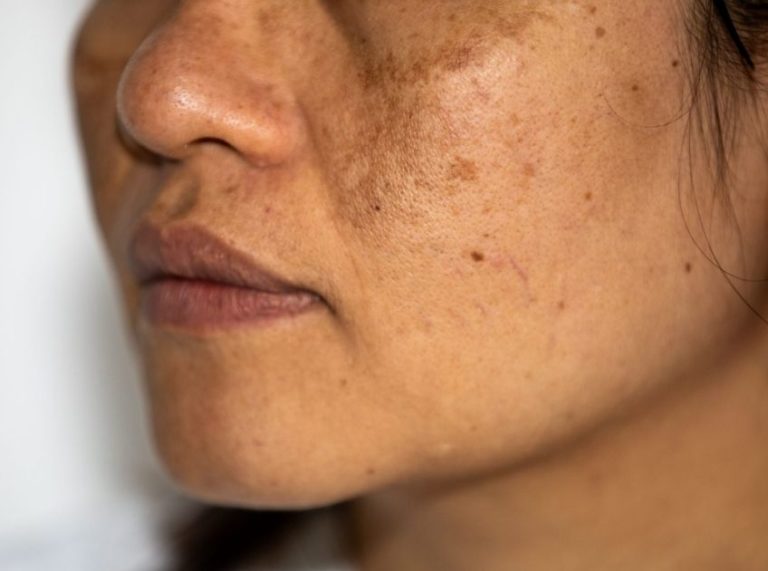
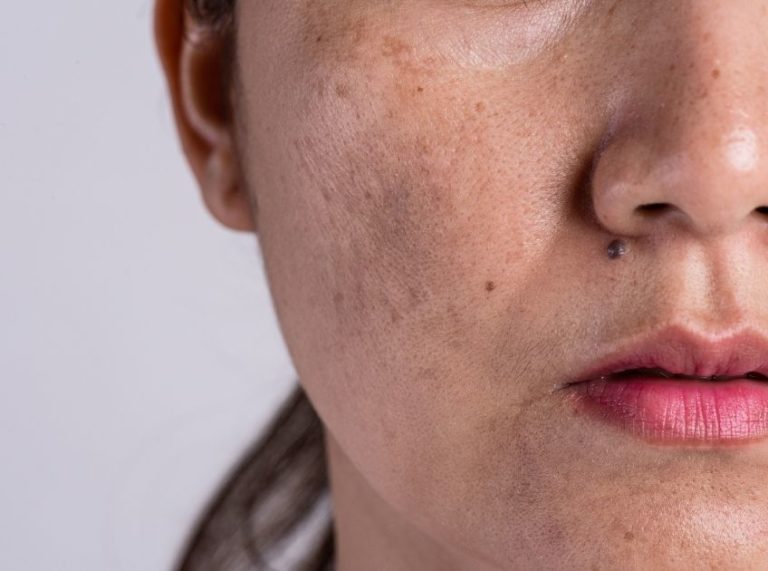
- Helps reduce pigmentation and blemishes
- Natural enzymes gently exfoliate dead skin
- Boosts skin glow and radiance
- Provides hydration with oils and butters
- Can soften fine lines with regular use
What Makes This Cream Work? The Science Explained
Papaya contains papain, a natural enzyme that breaks down dead skin cells and encourages cell turnover. It also has vitamin C, which supports collagen production and improves brightness (1).
Other ingredients like shea butter and almond oil provide fatty acids and vitamin E, sealing in moisture and protecting the skin barrier (2).
Glycerin helps retain skin hydration by attracting water from the air, making your skin look plumper and fresher.
Know When to Stop: Signs You Should Discontinue Use
- If you experience redness, itching, or burning, discontinue immediately
- Allergic reactions may occur in sensitive individuals—always do a patch test
- Stop using if your skin becomes overly dry or irritated after use
Customize Your Blend: Adjusting the Formula
- For dry skin: Increase shea butter or almond oil
- For oily skin: Use aloe vera gel instead of oils
- For a stronger exfoliating effect: Add a tiny pinch of turmeric or ground oats
- Store cream in the refrigerator and use it within 7 days for freshness
Best Skin Types for Papaya Cream
✅ Normal to Dry Skin – Benefits most from its moisture and gentle exfoliation
✅ Combination Skin – Works well when balanced with lighter oils like jojoba
❌ Sensitive or Allergy-Prone Skin – Do a patch test due to papaya enzymes
Is It Safe to Use?
Yes, for most skin types—but it must be made and stored correctly. Use ripe papaya, clean tools, and sterilized containers to avoid contamination. Always patch test on your jawline before applying to the entire face. Avoid use on broken or inflamed skin.
2 Best DIY Papaya Face Creams for Bright Skin
DIY Recipe 1: Creamy Papaya Glow Moisturizer
A rich, deeply hydrating face cream perfect for dry or mature skin. This blend combines the brightening power of papaya with the nourishing effects of shea butter and almond oil for a smooth, even-toned glow.
Ingredients:
- 2 tablespoons ripe papaya (mashed into a smooth pulp)
- 1 tablespoon shea butter (raw, unrefined)
- 1 teaspoon almond oil (cold-pressed)
- 1 teaspoon vegetable glycerin (for hydration)
Directions to Use:
- Mash the papaya thoroughly using a fork or blender until it’s smooth and lump-free.
- In a heat-safe bowl, melt the shea butter using a double boiler (or microwave in 15-second intervals until soft).
- Let the shea butter cool slightly, then mix in the papaya pulp.
- Add almond oil and glycerin to the mixture. Stir well until it turns into a smooth cream.
- Transfer the mixture into a sterilized glass container with a lid.
- Store it in the refrigerator and use within 5–7 days.
How to Apply:
- Cleanse your face thoroughly before application.
- Scoop a small amount with clean fingers or a spatula.
- Gently massage into your skin using upward, circular motions.
- Leave it on overnight or rinse off after 30 minutes for a quick glow.
Pro Tip: Use this cream at night for deep moisturization and visible brightening by morning.
DIY Recipe 2: Lightweight Papaya Gel Cream
A refreshing, non-greasy gel cream ideal for oily or acne-prone skin. Aloe vera cools and calms the skin, while papaya gently exfoliates and brightens without clogging pores.
Ingredients:
- 2 tablespoons ripe papaya pulp (finely blended)
- 1 tablespoon aloe vera gel (pure or fresh-extracted)
- 1 teaspoon jojoba oil (balances oil without clogging pores)
- 1 vitamin E capsule (for added antioxidant protection – optional)
Directions to Use:
- Blend the ripe papaya until it forms a smooth, lump-free pulp.
- Mix the papaya pulp with aloe vera gel until the texture is creamy.
- Add jojoba oil and squeeze in the vitamin E capsule (if using). Mix well.
- Pour the cream into a clean jar or container and refrigerate.
- Use within 5–6 days for best potency and freshness.
How to Apply:
- Apply a small amount to a cleansed face after toning.
- Use fingertips to lightly massage the gel cream into the skin.
- Let it fully absorb before layering sunscreen or makeup.
- Use once or twice daily for best results.
Pro Tip: Perfect as a summer day cream or pre-makeup moisturizer.
Frequently Asked Questions (FAQ’S)
1. How long can I store homemade papaya cream?
A. Keep it refrigerated and use within 5–7 days to avoid spoilage.
2. Can I use this cream daily?
A. Yes, if your skin tolerates it well. Start with 3 times a week, then increase.
3. Will it lighten my skin tone permanently?
A. No. It helps brighten and even tone by exfoliating dead skin, not bleaching.
Papaya Cream: A Gentle Boost Toward Glowing Skin
This DIY papaya face cream is a simple, natural way to give your skin a healthy boost. Whether you need moisture, exfoliation, or just a bit more glow, papaya has you covered. Customize your cream and give your skin a break from chemicals. Glowing, healthy skin might be just a fruit away.