![]() Fact checked
Fact checked ![]() We have a team of smart fact checkers. They make sure our content is accurate. They use the best sources like medical journals and government websites. You can find their names and profiles on the articles they check.
We have a team of smart fact checkers. They make sure our content is accurate. They use the best sources like medical journals and government websites. You can find their names and profiles on the articles they check.

Important: This article is for informational purposes only. Please read our full disclaimer for more details.
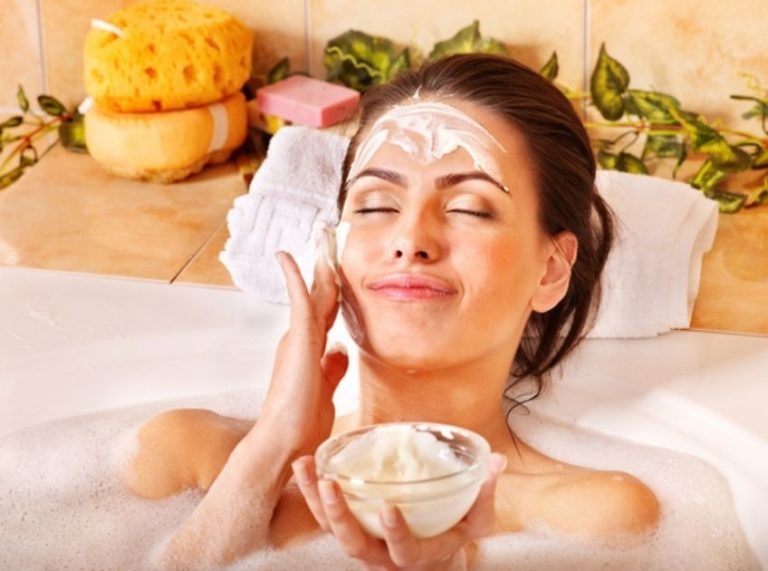
Looking for a natural way to keep your skin deeply hydrated and radiant? Shea butter has long been a skincare favorite for its healing, nourishing properties. This DIY guide helps you craft your rich shea butter moisturizer at home—no harsh chemicals, just pure, skin-loving ingredients.
This guide includes science-backed benefits, ingredient breakdowns, expert tips, and two of the best DIY recipes. Let’s dive into making your skin smoother, softer, and healthier—naturally.
Why Shea Butter Moisturizer is a Skin Savior
- Deeply hydrates dry, flaky skin
- Rich in fatty acids and vitamins A & E
- Calms inflammation and soothes eczema
- Creates a protective barrier without clogging pores
Shea butter has anti-inflammatory, antioxidant, and healing properties, making it ideal for people who want a gentle yet effective moisturizer.
The Skin-Loving Benefits You’ll Notice
- Locks in Moisture: Prevents water loss with its rich emollient texture
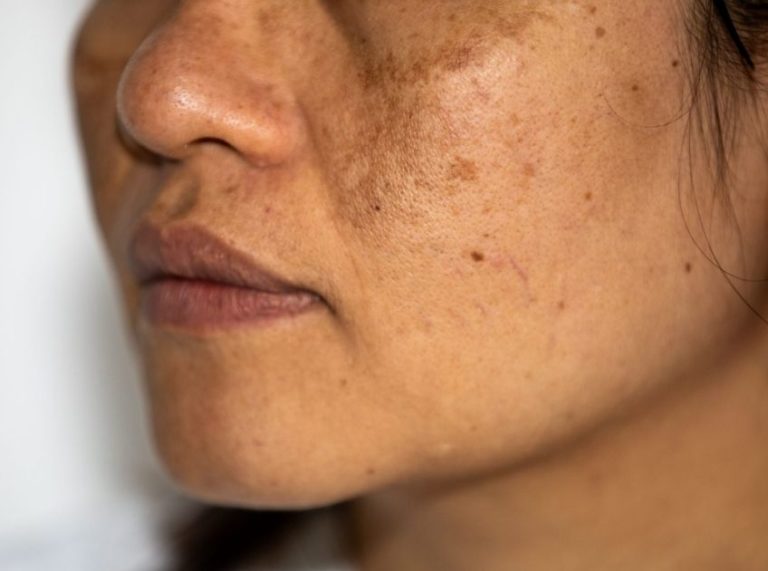
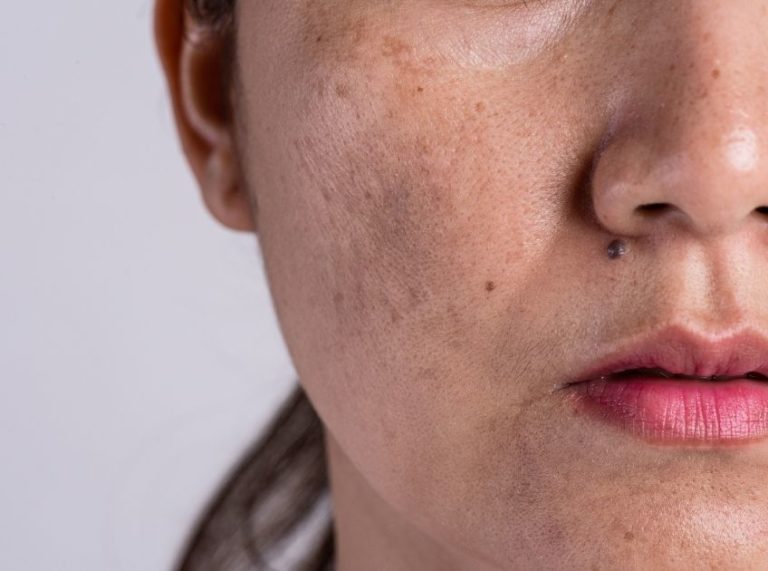
- Fades Scars and Marks: Helps in reducing dark spots and hyperpigmentation
- Soothes Itch and Irritation: Great for eczema-prone or sun-damaged skin
- Improves Elasticity: Boosts collagen production for firmer skin
This natural butter is particularly effective for dry and combination skin types due to its intense moisturizing capacity.
What Makes It Work: A Breakdown of the Ingredients
- Shea Butter: Rich in stearic and oleic acids; provides softness and emollient effects
- Coconut Oil: Contains lauric acid with antibacterial and hydrating properties
- Vitamin E Oil: Acts as an antioxidant to fight free radicals
- Essential Oils (optional): Lavender or tea tree oil can enhance healing and add fragrance
Scientific Insight
According to a 2015 review published in the Journal of Oleo Science, shea butter exhibits anti-inflammatory and antioxidant activity due to its cinnamic acid derivatives (1). Another study (NCBI, 2010) found it effective in improving skin hydration and elasticity in topical formulations (2).
Important Tips Before You Start: Adjust, Test, and Stop if Needed
- When to Discontinue Use: If you experience breakouts, itching, or redness, stop use immediately
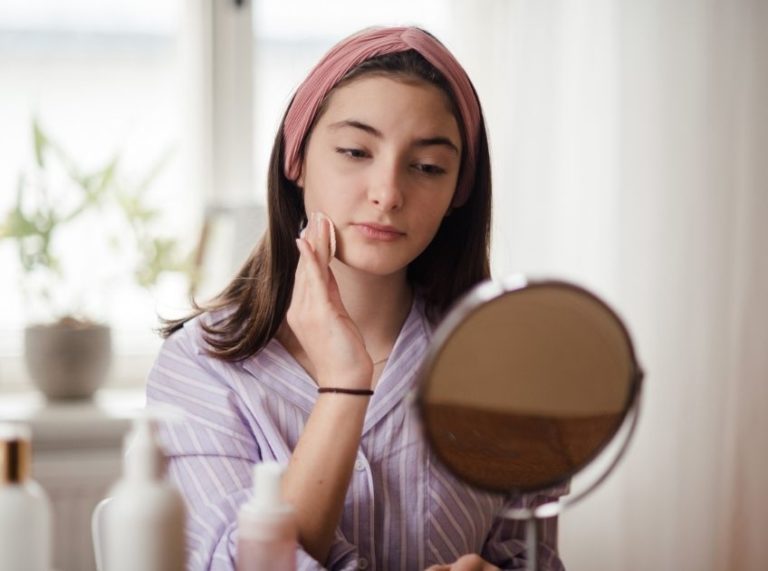
- Patch Test: Always test on your inner arm before using on your face
- Adjust Quantities: For oily skin, reduce coconut oil; for dry skin, add more shea or a few drops of jojoba oil
- Essential Oils: Always dilute and avoid if you have sensitive skin
Best Suited For: Who Should Use It?
- Dry to Very Dry Skin: Deep hydration without irritation
- Combination Skin: Adjust ratios for a balanced formula
- Sensitive Skin: Choose unrefined, fragrance-free versions
- Avoid on Acne-Prone Skin: May be too heavy and pore-clogging
Is It Safe for Long-Term Use?
Yes, when used correctly. Pure shea butter is non-toxic, generally well-tolerated, and safe for daily use. However, avoid synthetic additives and ensure your ingredients are fresh and properly stored.
2 Best DIYS on Shea Butter Moisturizer
DIY #1: Rich Shea Butter Moisturizer for Dry Skin
This ultra-hydrating shea butter blend is ideal for dry or cracked skin. It creates a thick, creamy texture that melts into the skin, locking in moisture for hours.
Ingredients:
- ½ cup unrefined shea butter
- 2 tablespoons virgin coconut oil
- 1 teaspoon vitamin E oil
- 4 drops lavender essential oil (optional)
Directions to Use:
- Add shea butter and coconut oil to a heat-safe bowl.
- Melt using a double boiler on low heat until fully liquefied.
- Remove from heat and let it cool for about 5–10 minutes.
- Stir in the vitamin E oil and lavender essential oil.
- Whip the mixture using a hand mixer until it becomes light and fluffy.
- Transfer the whipped butter into a sterilized glass jar with a tight lid.
How to Apply:
- Use clean fingers or a spatula to scoop out a small amount.
- Rub between your palms to warm it slightly.
- Gently massage onto dry or rough areas like elbows, knees, or face.
- Apply daily after showering for best results.
Pro Tips:
- Keep the jar in a cool, dry place to prevent melting.
- Avoid over-whipping if you want a firmer consistency.
- Add 1 tsp of arrowroot powder for a less greasy finish.
- Suitable for use on hands, feet, and body—avoid acne-prone areas on face.
DIY #2: Lightweight Shea Butter Moisturizer for Sensitive Skin
Perfect for sensitive or easily irritated skin, this blend combines calming oils and a lightweight feel without sacrificing hydration.
Ingredients:
- ⅓ cup unrefined shea butter
- 1 tablespoon jojoba oil
- 1 teaspoon rosehip seed oil
- 2 drops chamomile essential oil (optional)
Directions to Use:
- Place shea butter in a glass bowl and gently melt using a double boiler.
- Once melted, remove from heat and let cool slightly (not solid).
- Stir in jojoba oil and rosehip seed oil thoroughly.
- Add chamomile essential oil if desired.
- Whip the mixture using a hand mixer until it becomes smooth and creamy.
- Pour into a sanitized jar and seal tightly.
How to Apply:
- Cleanse your skin and pat dry.
- Take a fingertip amount and rub it between your fingers.
- Apply evenly across the face and neck using upward strokes.
- Use morning or night as needed.
Pro Tips:
- Rosehip oil adds a natural glow and supports skin renewal.
- Jojoba oil is very similar to the skin’s sebum—perfect for balanced hydration.
- For extra sensitive skin, skip essential oils.
- Store in a cool, dark place to maintain freshness for up to 4–5 months.
Frequently Asked Questions (FAQ’S)
1. Can I use shea butter on my face daily?
A. Yes, but use a lighter version or apply only at night if you have combination or oily skin.
2. How long does DIY shea butter moisturizer last?
A. If stored in a cool, dry place, it can last up to 6 months without preservatives.
3. What’s the best type of shea butter to use?
A. Always opt for raw, unrefined shea butter as it retains more nutrients and has fewer chemicals.
Final Thoughts: Nourish Naturally with Shea
Making your shea butter moisturizer gives you control over every ingredient, ensuring it’s free of fillers and irritants. With the right combination, it can be deeply soothing, healing, and rejuvenating for your skin.
Try these DIY recipes, adjust as needed, and let your skin enjoy the natural care it deserves.