Important: This article is for informational purposes only. Please read our full disclaimer for more details.
Looking for a bold yet low-maintenance hairstyle that protects your natural strands? Crochet locs offer the perfect fusion of fashion, function, and affordability. Whether you’re going for a boho-chic vibe or a neat loc’d look without the long-term commitment, this guide covers everything you need to know about crochet locs—from installation to upkeep.
Article Contains
What Are Crochet Locs?
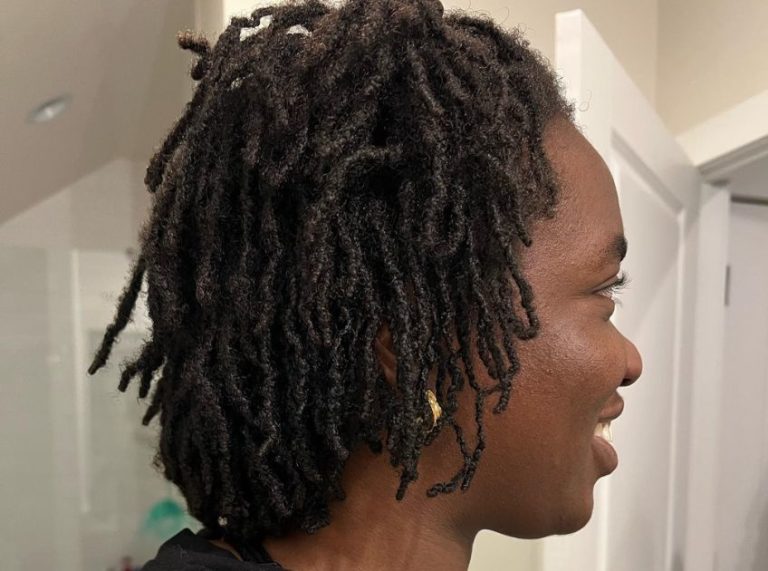
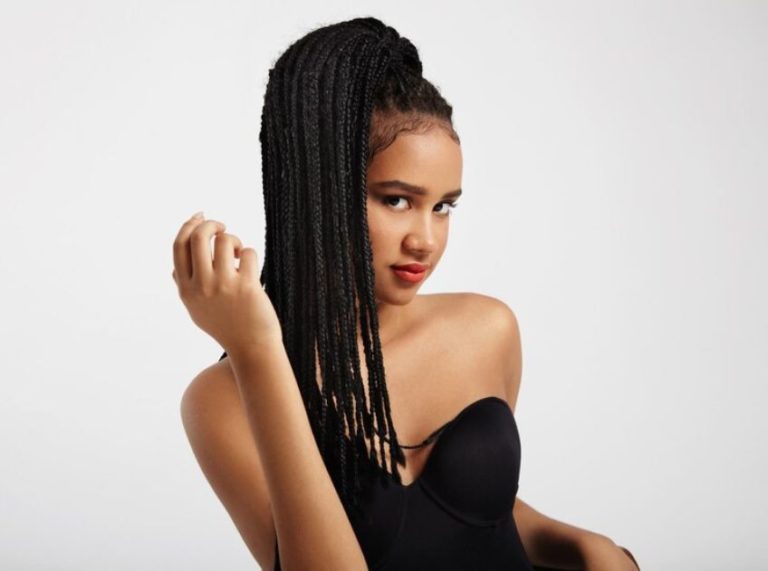
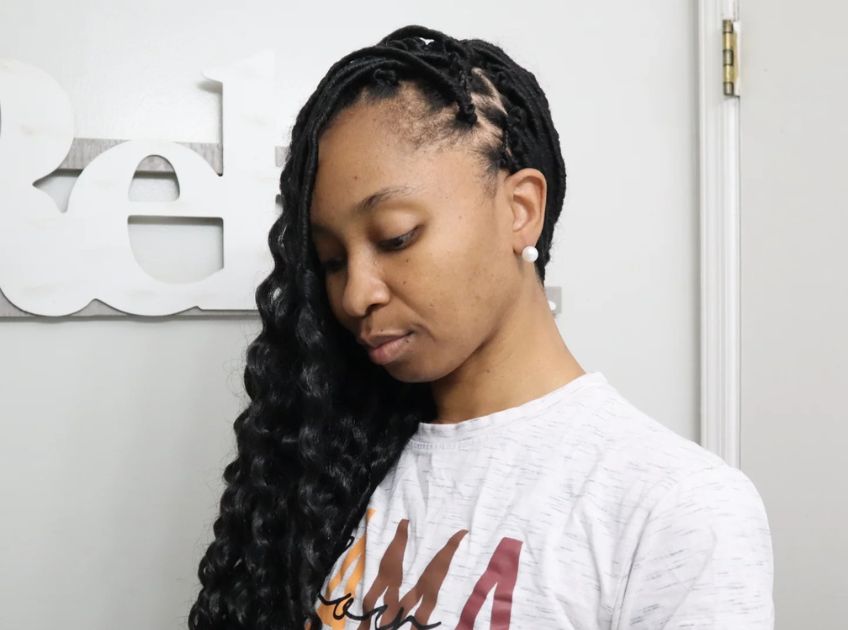
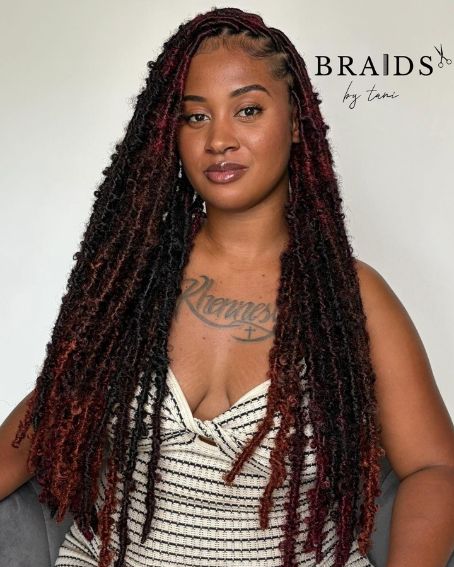
Crochet locs are a type of faux locs installed using the crochet braiding method. Pre-made locs are looped into cornrowed hair with a crochet hook, allowing you to achieve the look of traditional locs, without the years-long commitment. They come in various textures and lengths, from silky goddess locs to textured Marley twists.
Why Choose Crochet Locs? Top Benefits to Know
Here’s why crochet locs are loved by naturalistas and stylists alike:
- Quick installation compared to individually wrapped faux locs
- Low manipulation that helps protect your natural hair
- Versatile styling options (updos, buns, side-sweeps)
- Affordable and reusable loc packs
- Scalp access for easy cleansing and moisturizing
Thinking of Getting Crochet Locs? Here’s What You’ll Need
Before you get started, gather these essentials:
- Pre-looped crochet locs (goddess locs, boho locs, Marley locs, etc.) (Buy Here)
- Crochet hook/needle (Buy Here)
- Wide-tooth comb and rat-tail comb (Buy Here)
- Styling gel or edge control (Buy here)
- Hair clips and rubber bands (for sectioning) (Buy Here)
- Scalp oil or braid spray (for maintenance) (Buy Here)
DIY or Stylist? How to Install Crochet Locs
Crochet locs are one of the most beginner-friendly protective styles, making them a great option whether you’re visiting a stylist or trying it at home. While going to a professional can ensure cleaner parting and tighter braids, installing crochet locs on your own is entirely doable with a bit of patience and the right tools.
Here’s a full guide to mastering the process:
Step 1: Prep Your Natural Hair
Start with clean, moisturized hair. This is the foundation for a long-lasting protective style. Follow these steps:
- Shampoo thoroughly to remove buildup and dirt from the scalp.
- Deep condition your hair to infuse moisture and strengthen strands.
- Detangle gently using a wide-tooth comb or your fingers to prevent breakage.
- Apply a leave-in conditioner and seal with a lightweight oil for hydration.
Pro Tip: Stretch your hair by blow-drying on a low setting or air-drying in twists or braids. This helps with easier braiding and smoother base foundation.
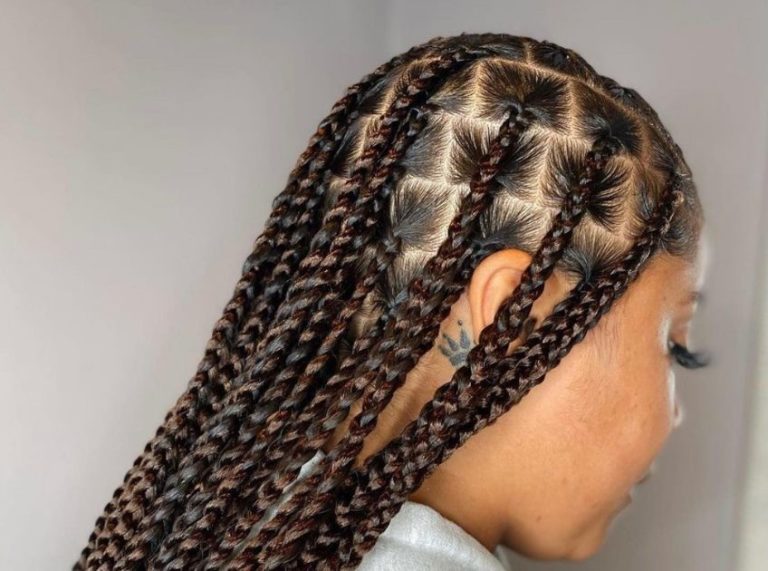
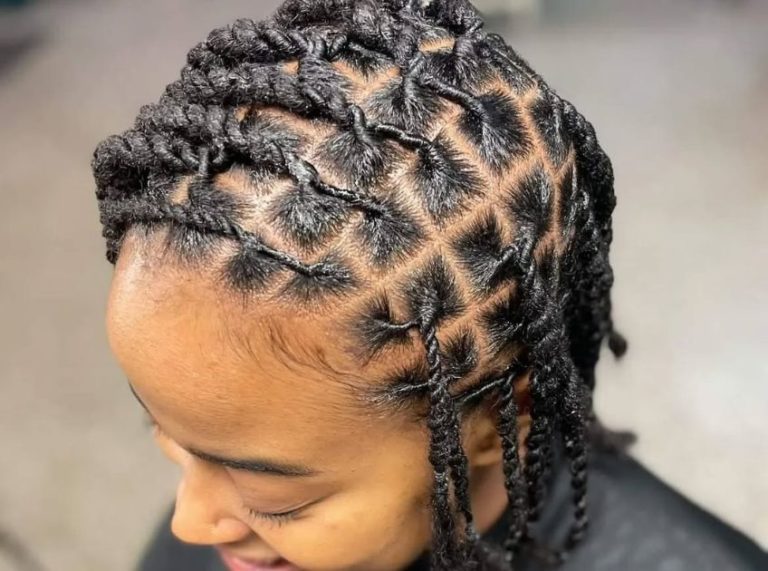
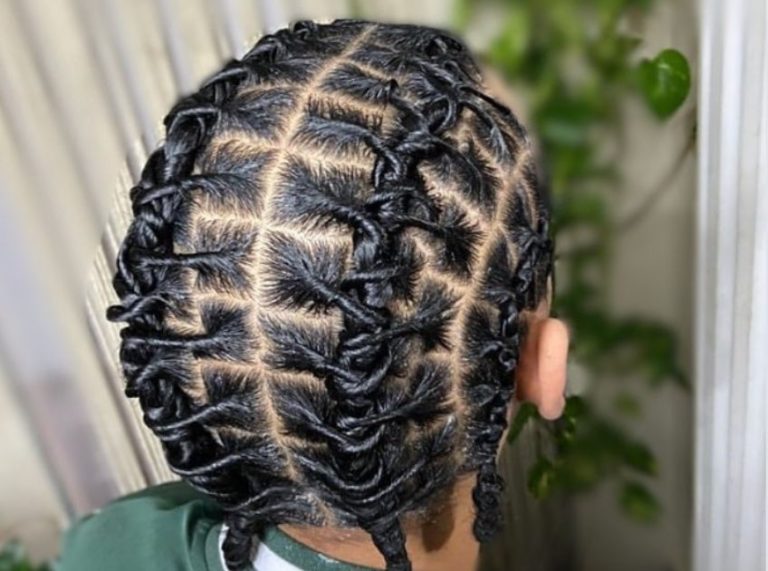
Step 2: Braid Your Hair into a Base Pattern
Your braid pattern will determine the final look and feel of your crochet locs. Choose one of these common methods:
- Straight-back cornrows: Great for beginners and allow you to part your locs in various ways.
- Beehive pattern: Ideal for full coverage with minimal visible parting.
- Side or curved cornrows: Useful if you want locs to fall to a specific side or shape.
Braid your natural hair tightly but not too tightly. Tension should be secure but comfortable to avoid scalp damage.
Optional: If your hair is short, secure loose ends with bobby pins or crochet them into the braid base for a neater look.
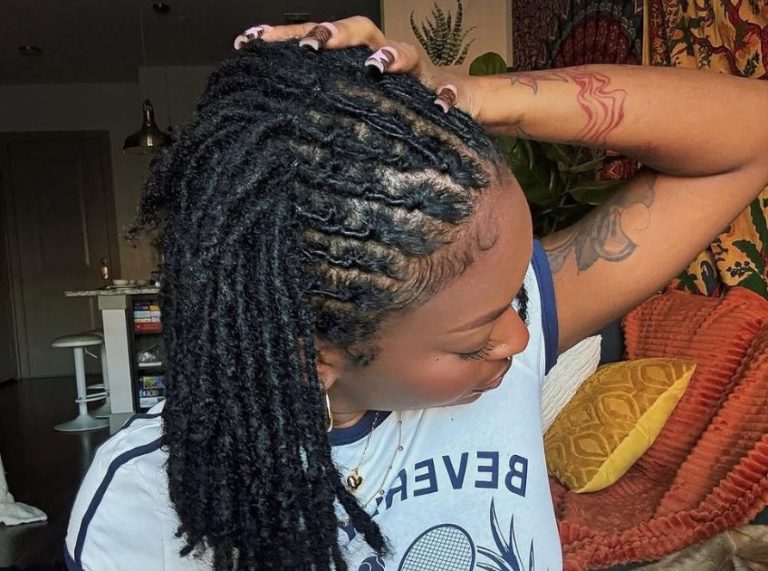
Step 3: Begin the Crochet Installation
Once your braid base is ready, it’s time to install the crochet locs using a latch hook crochet needle. Here’s how
- Slide the crochet needle under one cornrow braid with the hook open.
- Attach the pre-looped loc onto the hook and close the latch.
- Pull the loop of the loc under the braid using the needle.
- Insert the end of the loc through the loop and gently pull to tighten.
Repeat this across each braid until your head is filled evenly. For a more natural look, space the locs slightly in the back and add more locs at the crown and front hairline.
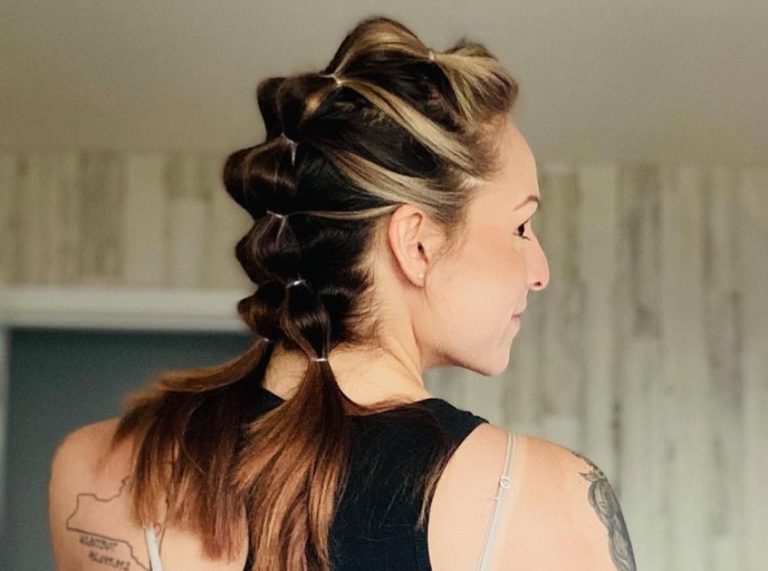
Step 4: Style and Blend
Once all the locs are installed, fluff and arrange them to your liking. You can trim uneven ends or lightly dip the locs in hot water (if they’re synthetic) to soften or set the shape.
Add edge control or gel around your hairline for a polished finish. You can also lay baby hairs for a sleeker look.
Styling options include
- Half-up, half-down buns
- Side sweeps
- Ponytails or topknots
- Loose and free-flowing locs
Final Tip: If you’re new to crochet styles, try installing locs on a mannequin or a small braid section first. With some practice, you can master this protective style from the comfort of home.
How to Keep Crochet Locs Fresh and Flawless
With the right care, crochet locs can last 4–6 weeks. Follow these tips:
- Wrap your hair nightly with a satin scarf or bonnet to minimize frizz
- Oil your scalp 2–3 times a week to prevent dryness
- Cleanse your scalp with diluted shampoo applied with a nozzle bottle
- Avoid heavy products that can weigh down the locs or cause buildup
Frequently Asked Questions (FAQ’S)
Q1: How long do crochet locs typically last?
A. They usually last 4–6 weeks, depending on maintenance and hair type.
Q2: Are crochet locs heavy on the scalp?
A. No, especially when using lightweight, pre-looped locs. Just avoid too much tension at the roots.
Q3: Can I swim or work out with crochet locs?
A. Yes! Just be sure to rinse and dry your scalp thoroughly after water activities.
Final Thoughts
If you’re looking for a protective style that’s versatile, stylish, and beginner-friendly, crochet locs are an excellent option. Whether you install them at home or visit a stylist, they let you embrace the loc’d look with far less effort and full-on glam.