![]() Fact checked
Fact checked ![]() We have a team of smart fact checkers. They make sure our content is accurate. They use the best sources like medical journals and government websites. You can find their names and profiles on the articles they check.
We have a team of smart fact checkers. They make sure our content is accurate. They use the best sources like medical journals and government websites. You can find their names and profiles on the articles they check.
Important: This article is for informational purposes only. Please read our full disclaimer for more details.
Looking for bouncy, beautiful curls without damaging your hair? You’re not alone. More and more people are ditching heat tools to protect their strands—and for good reason. Curling irons and straighteners may give quick results, but over time, they can cause split ends, breakage, and dryness. The good news? You don’t need heat to get stunning curls. In fact, with the right technique, you can achieve heatless curls quickly, even overnight.
Whether you’re getting ready for a last-minute event or just want to switch up your look, these methods will help you get heat-free curls in no time.
11 Quick and Effective Heatless Curling Techniques
Here’s a list of tried-and-true methods to get gorgeous curls fast, without reaching for the curling wand.
1. Sock Curls
Best for: Medium to long hair; loose to medium curls
Time needed: 4–8 hours (or overnight)
How it works
Socks act as soft, flexible rollers. They create natural-looking waves or curls without causing damage.
How to do it
- Start with slightly damp hair.
- Divide your hair into sections (smaller sections for tighter curls).
- Roll each section around a sock from ends to roots.
- Tie the sock ends together to secure.
- Leave them overnight or for at least 4 hours.
- Gently unravel and finger-comb your curls.
Pro tip: Use silk socks for extra comfort and less frizz.
2. Headband Wrap Method
Best for: All hair types; soft curls or vintage waves
Time needed: 4–6 hours or overnight
How to do it
- Place a stretchy headband over your head like a crown.
- Starting from the front, twist sections of damp hair and wrap them around the band.
- Tuck the ends securely under the band.
- Leave it on while you sleep or go about your day.
- Unwrap gently for soft, natural-looking waves.
Pro tip: Add a light mousse before wrapping for better hold.
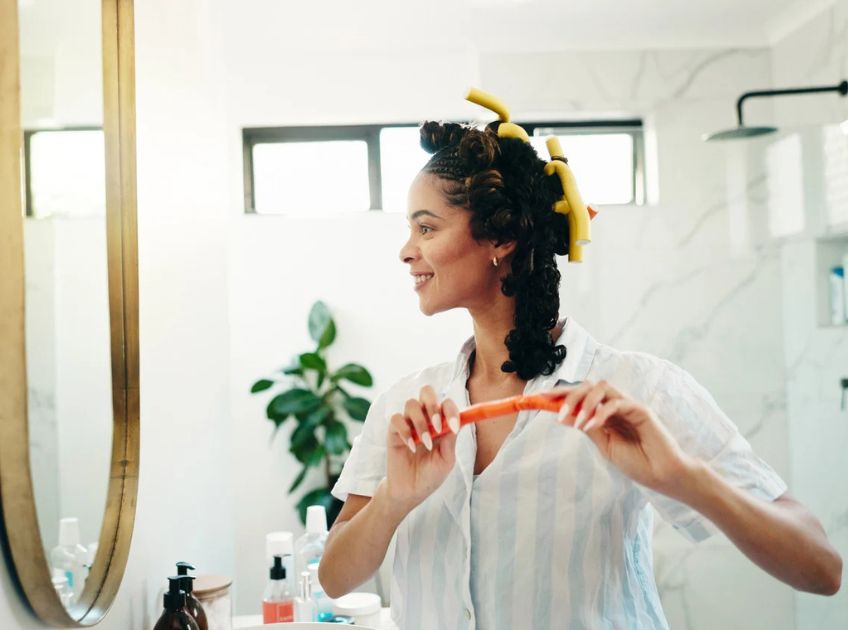
3. Flexi Rods
Best for: All hair types; defined spiral curls
Time needed: 3–6 hours or overnight
How to do it
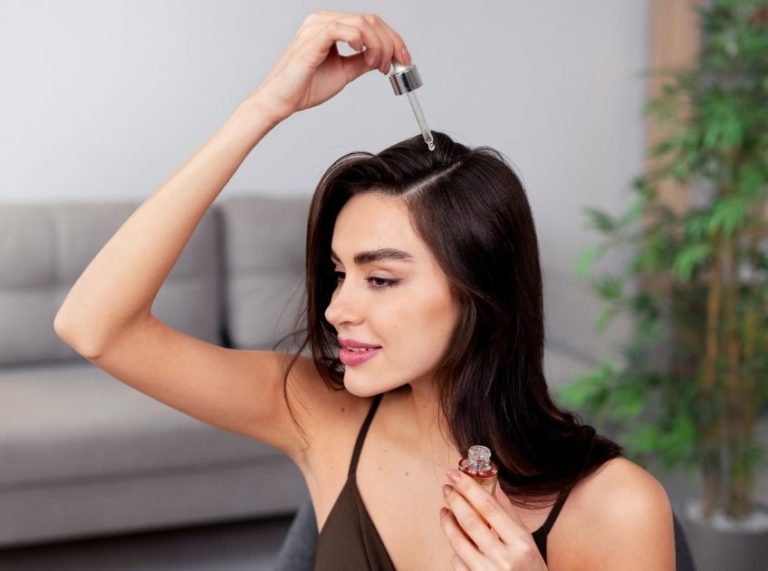
- On damp hair, apply curl-enhancing mousse or leave-in conditioner.
- Wrap 1–2 inch sections of hair around each rod from tip to root.
- Bend the rod to secure it.
- Leave overnight or until fully dry.
- Unwrap gently and separate curls with fingers.
Pro tip: The smaller the rod, the tighter the curl.
4. Braiding
Best for: All hair types; beach waves or tight zig-zag curls
Time needed: 4+ hours or overnight
How to do it
- On slightly damp hair, divide into sections.
- For loose waves: braid into 1 or 2 large braids.
- For tighter curls: braid into 4–6 or more small braids.
- Secure ends with soft elastics.
- Sleep with the braids in, then unravel and fluff in the morning.
Pro tip: For a more natural finish, braid in different directions.
5. Twisting
Best for: Wavy or curly hair; soft spirals
Time needed: 2–4 hours
How to do it
- On damp hair, take small sections and twist each one tightly from root to tip.
- Coil them into mini buns and pin with bobby pins or clips.
- Let dry fully.
- Unravel and gently separate with fingers.
Pro tip: Twist in alternating directions for volume and dimension.
6. Bantu Knots
Best for: Coily, curly, and thick hair types
Time needed: Overnight for best results
How to do it
- Section damp hair into 8–10 parts (or more for tighter curls).
- Twist each section and wrap it into a knot.
- Secure with a bobby pin or small elastic.
- Sleep with a satin bonnet.
- Unwind the knots the next morning and separate the curls.
Pro tip: Add a small amount of styling cream for hold and shine.
7. Curlformers (Magic Leverage)
Best for: Straight to wavy hair; long-lasting, uniform curls
Time needed: 2–4 hours, depending on drying time
How to do it
- Thread damp hair through Curlformers using the hook tool.
- Let hair air-dry or use a cool blow-dryer.
- Once dry, slide the Curlformers off gently.
- Fluff and separate curls with fingers.
Pro tip: Great for zero-frizz curls with minimal effort.
8. Paper Towel Rollers
Best for: Fine to medium hair; classic soft curls
Time needed: 4+ hours
How to do it
- Tear paper towels into long strips and dampen your hair.
- Roll sections of hair around each strip, then tie the ends of the paper to hold the curl in place.
- Allow to dry completely.
- Remove and style.
Pro tip: This is a budget-friendly and travel-friendly option.
9. Claw Clip Bun Curls
Best for: Medium to long hair; loose body waves
Time needed: 2–6 hours or overnight
How to do it
- Twist damp hair into a loose bun and secure it at the crown with a claw clip.
- Let it dry while you sleep or during the day.
- Remove the clip and shake out the waves.
Pro tip: Use a silk scrunchie around the base to reduce creasing.
10. Pin Curls
Best for: All hair types; vintage or defined curls
Time needed: Overnight
How to do it
- Take a small section of damp hair, roll it around your finger into a coil, and pin it flat against your scalp.
- Repeat throughout your head.
- Cover with a scarf and sleep on it.
- Unpin and style in the morning.
Pro tip: Use setting lotion or mousse for longer-lasting curls.
11. Scrunching with Curl Enhancer
Best for: Naturally wavy or curly hair
Time needed: 1–2 hours (air dry or diffuse on cool)
How to do it
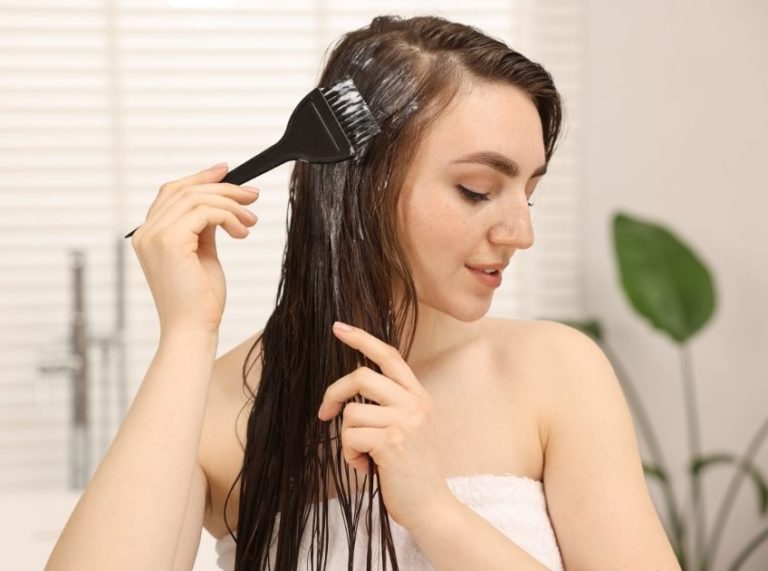
- Apply a curl cream, gel, or mousse to damp hair.
- Flip your head upside down and scrunch your hair upward with your hands.
- Let it air-dry or diffuse with no heat.
- Fluff roots for volume once dry.
Pro tip: Add a microfiber towel or cotton t-shirt to reduce frizz while drying.
The Science Behind Heatless Curling
So, how do these no-heat methods work?
Hair is most malleable when wet. The hydrogen bonds within your hair strands temporarily break when your hair is wet and reform as it dries. When you shape damp hair (through braids, twists, or rods), it takes on that shape once dry, without needing heat.
Study Note: A study published in the Journal of Cosmetic Science (2006) confirmed that hydrogen bonding is the main factor behind temporary hair styling, supporting the effectiveness of setting styles on damp hair (1)(2).
Natural stylers like aloe vera, flaxseed gel, and mousse help hold the curl shape by forming a lightweight film over the strands, improving definition and hold.
Frequently Asked Questions (FAQ’S)
Q1. How long do heatless curls last?
A. With the right products and technique, heatless curls can last 1–3 days. Use a light hairspray or curl-setting mousse to increase longevity.
Q2. Can I use these methods on straight hair?
A. Yes! These techniques work on straight hair, too, though tighter curl results may require more time or product hold.
Q3. Is it okay to sleep in heatless curl sets?
A. Absolutely. Most methods (like braids, socks, or flexi rods) are designed for overnight wear. Just ensure comfort and secure wrapping to avoid frizz.
Heatless curls are a game-changer—kind to your strands and easy to achieve. Whether you’re in a hurry or planning a curl set overnight, there’s a method here for every hair type, length, and occasion.
With consistent care and the right products, your curls will stay gorgeous, defined, and damage-free.