![]() Fact checked
Fact checked ![]() We have a team of smart fact checkers. They make sure our content is accurate. They use the best sources like medical journals and government websites. You can find their names and profiles on the articles they check.
We have a team of smart fact checkers. They make sure our content is accurate. They use the best sources like medical journals and government websites. You can find their names and profiles on the articles they check.
Important: This article is for informational purposes only. Please read our full disclaimer for more details.
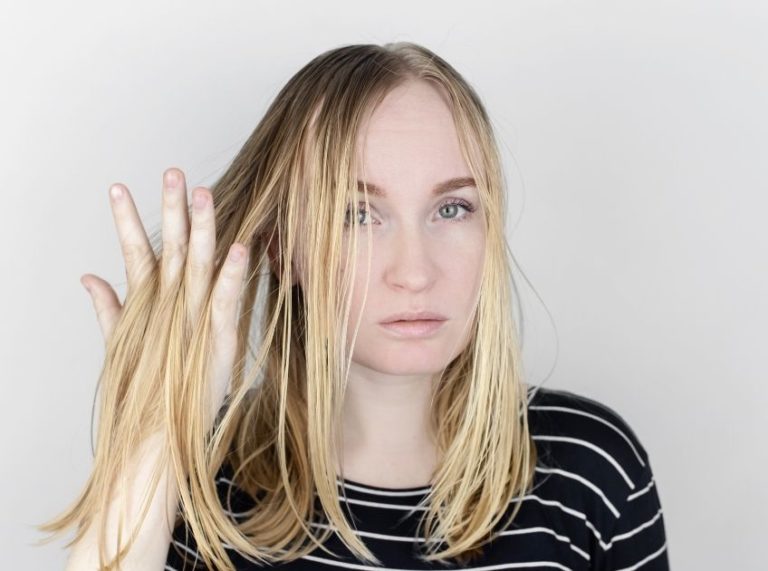
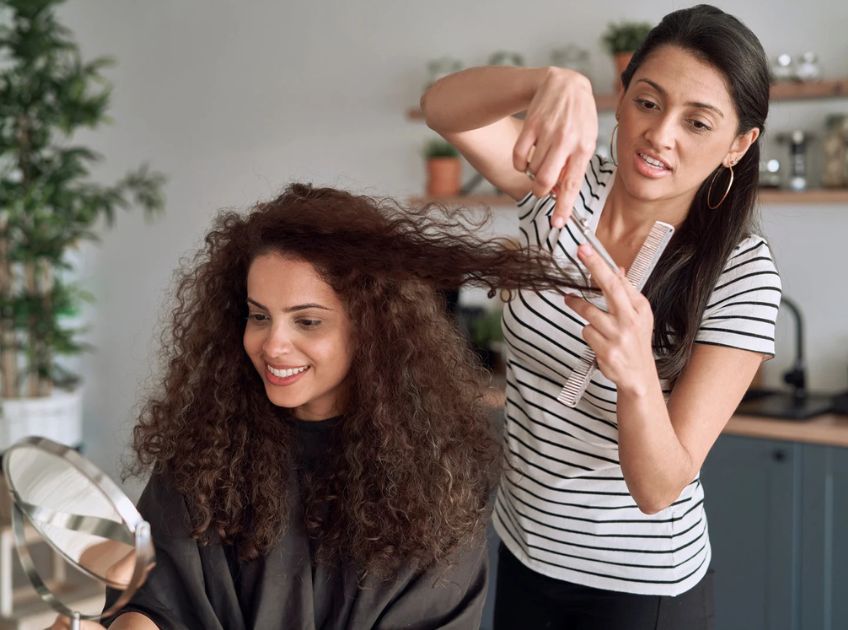
If you have 2B or 2C curls, you know how tricky it can be to maintain shape, volume, and definition. These hair types fall between loose waves and defined curls, making them more prone to frizz and uneven layers when not cut properly. But with the right approach, you can cut your wavy-curly hair at home and still achieve salon-worthy results. Whether you’re going for a trim or a full reshaping, this guide will walk you through everything you need to know—step by step.
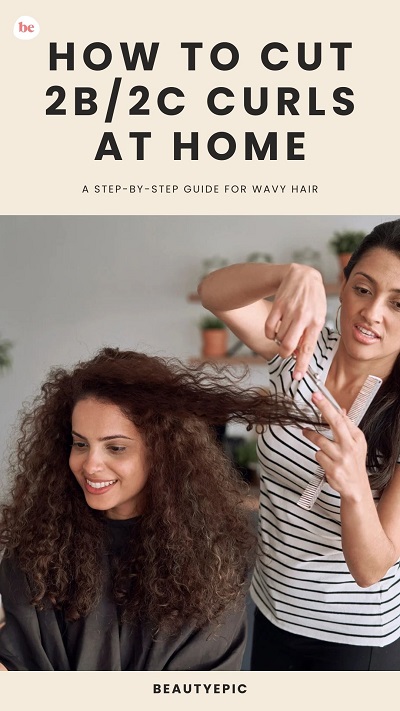
Step-by-Step Guide to Cutting 2B and 2C Curls at Home
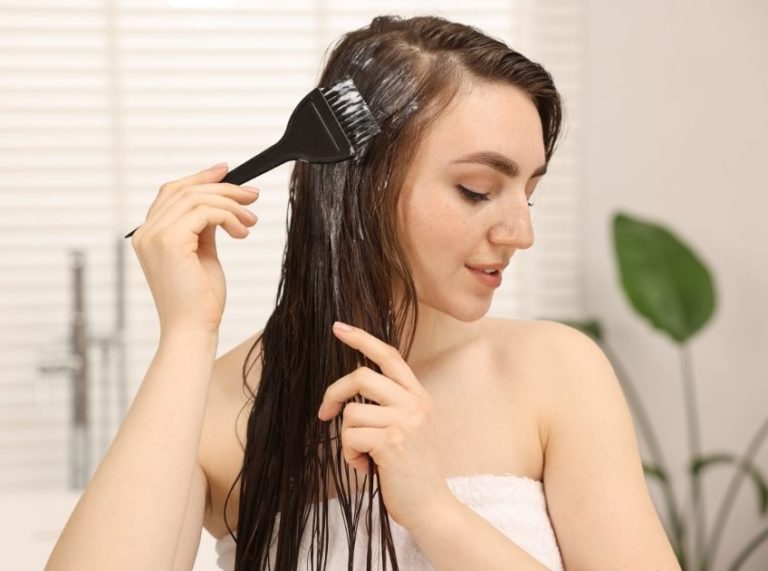
Step 1: Begin with clean, dry, and styled curls
2B and 2C hair types behave very differently when wet. Cutting your curls dry allows you to see exactly how each curl falls in its natural state, helping prevent uneven layers or too much shrinkage post-cut.
Wash and style your hair as you normally would—using your regular leave-in, curl cream, or gel—and let it air dry or diffuse completely before cutting.
Step 2: Gently detangle without disrupting your curl pattern
Use your fingers or a wide-tooth comb to detangle any knots. Avoid brushing through dry curls roughly, as this will disturb your curl pattern and make it harder to see how your hair naturally sits.
If needed, apply a small amount of leave-in conditioner or water to stubborn tangles.
Step 3: Section your hair for better control
Divide your hair into 4 to 6 sections using clips. This allows you to focus on one area at a time and ensures an even cut.
For most people, sectioning into:
- Two at the front
- Two to three at the back
…gives great visibility and control.
Step 4: Cut one curl at a time (the curl-by-curl method)
Take a small curl or curl group from one section. Hold it between your fingers and assess where the curl naturally bends or coils.
Cut just a small amount—around ¼ to ½ inch—from the end. Cutting at the bend in the curl helps enhance definition and prevents fraying or blunt ends.
Repeat this process, curl by curl, working your way through each section.
Tip: Pull down gently, but do not stretch the curl too tightly—it will bounce back shorter. Be conservative!
Step 5: Focus on shaping, not just trimming
While trimming ends is great for health, shaping your hair makes the real difference in how it looks. Here’s how:
- For face-framing layers: Take the curls near your face and trim them at an angle, slightly shorter as you move upward toward the cheekbone or jawline. This softens your features and adds movement.
- For body and volume: Use a rounded or U-shaped cut at the back. Trim a bit more from the outer layers to give your hair a natural lift. Avoid cutting the underneath layers too short—they help support the shape.
Step 6: Do a visual check and even things out
- Once you’ve cut through all your sections, release your curls and gently shake out your hair. Look at your cut in the mirror from multiple angles.
- Use a handheld mirror to view the back and check for obvious uneven spots. Trim any stray curls that are longer than others or sticking out of the overall shape.
Pro tip: Don’t aim for perfection—curls are forgiving. The goal is balanced volume and flow, not rigid symmetry.
Step 7: Restyle and reassess the final shape
After trimming, lightly mist your hair with water and reapply your curl-styling products. Let it air dry or diffuse again. This final step shows you how the curls lay post-cut.
Once dry, you can do a mini touch-up if necessary, snipping any long or out-of-place curls.
Bonus Step: Document your routine
If this is your first time cutting your 2B or 2C curls, take photos and notes. Record how much you trimmed and where you made the biggest changes. This will help you replicate your results next time or guide your stylist later on.
The Science Behind Cutting Wavy-Curly Hair
2B and 2C curls have an “S-shaped” wave that lies flatter at the root and gets curlier toward the ends. These patterns can easily be disrupted by blunt or improper cuts.
Why curl-by-curl cutting works:
- It follows the natural bend of each wave or curl, reducing frizz and uneven layers.
- According to trichologists, cutting dry hair allows for more accurate length control and maintains curl integrity (1).
- Curly hair has variable shrinkage across the head. Dry cutting ensures consistency and shape retention.
A 2020 study in the Journal of Cosmetic Science emphasized how curl pattern and porosity affect the final look of haircuts, reinforcing the importance of texture-aware techniques (2).
Frequently Asked Questions (FAQ’S)
Q1. Can I use regular scissors to cut my 2B/2C hair?
A. No. Use sharp, professional hair-cutting shears to avoid split ends and fraying. Kitchen or craft scissors can damage your strands.
Q2. How often should I trim my 2B/2C curls?
A. Every 8 to 12 weeks is ideal to prevent split ends and maintain shape, especially if you heat-style often or have color-treated hair.
Q3. What’s the biggest mistake people make when cutting curly hair at home?
A. Cutting too much at once or cutting it while wet. Always take your time, cut small amounts, and follow the curl pattern to avoid a choppy or uneven result.
Cutting 2B and 2C curls at home is doable—if you approach it with care, patience, and the right technique. By trimming curl-by-curl and shaping based on your natural wave pattern, you can maintain definition, volume, and a flattering shape between salon visits. Just remember: less is more. And when in doubt, you can always cut more later.