![]() Fact checked
Fact checked ![]() We have a team of smart fact checkers. They make sure our content is accurate. They use the best sources like medical journals and government websites. You can find their names and profiles on the articles they check.
We have a team of smart fact checkers. They make sure our content is accurate. They use the best sources like medical journals and government websites. You can find their names and profiles on the articles they check.
Important: This article is for informational purposes only. Please read our full disclaimer for more details.
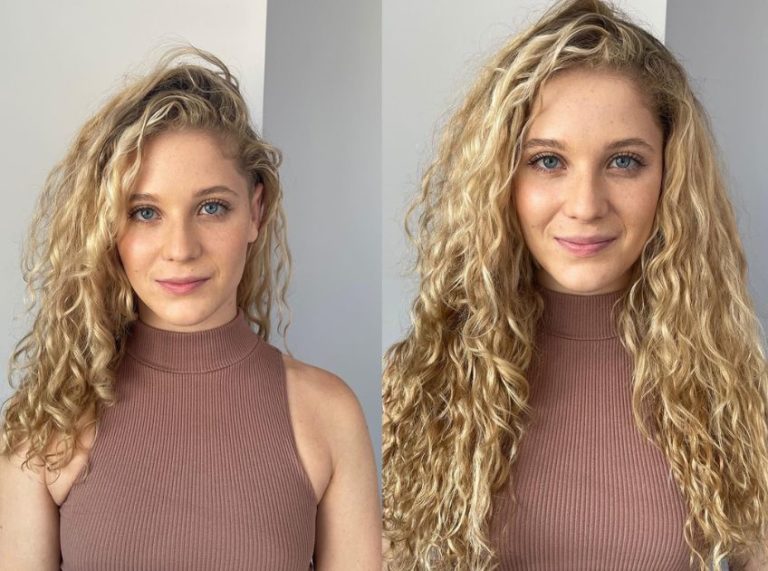
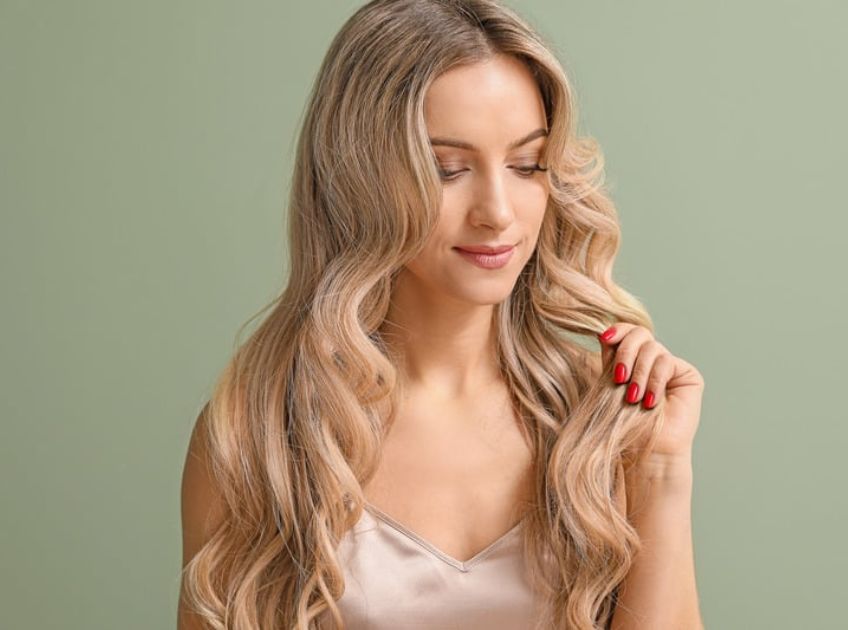
If you love bouncy, defined curls but dread the damage from curling irons or hot rollers, heatless curls are the perfect solution. These techniques use braids, twists, or rollers to shape your hair without exposing it to high temperatures that can weaken strands over time.
According to a study in the Journal of Cosmetic Science, repeated heat styling can degrade keratin and reduce hair strength, making heat-free methods a healthier alternative (1)(2).

The Science Behind Heatless Curling
Hair becomes moldable when damp because water temporarily breaks hydrogen bonds in the hair’s structure. As the hair dries and these bonds reform, the new shape—whether curls or waves—get locked in place. This is the same principle behind traditional heat styling, but achieved gently over time without temperature-induced protein damage (1).
Top 5 Methods to Get Heatless Curls at Home
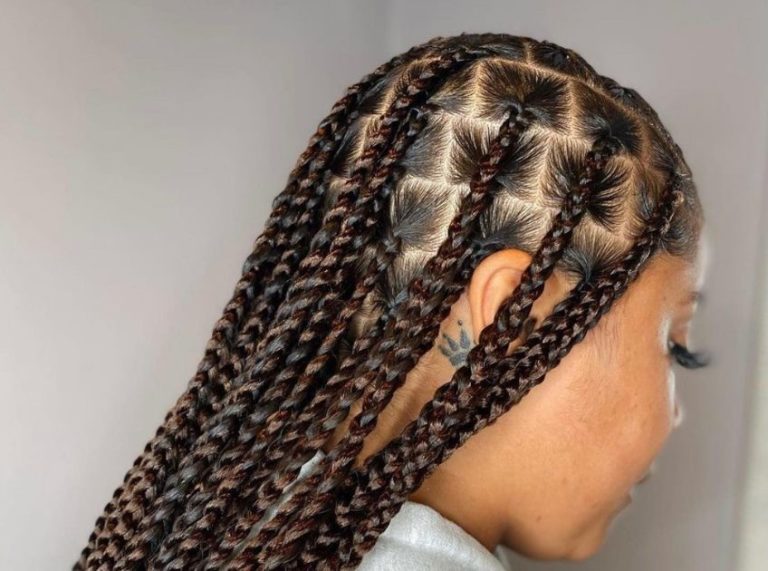
1. Overnight Braids for Effortless Waves
Braiding damp hair before bed is one of the easiest and most popular ways to achieve heatless curls. The braids create tension patterns that form soft waves once released.
How to do it
- Start with towel-dried, slightly damp hair.
- Divide into 2 sections for big, loose waves or 4–6 sections for tighter curls.
- Braid each section evenly and secure the ends with soft, snag-free hair ties.
- Sleep with the braids overnight and unravel them in the morning.
- Lightly finger-comb to separate the waves and finish with a flexible-hold hairspray.
Pro tip: Apply a light leave-in conditioner or curl cream before braiding to reduce frizz and add shine.
Best for: Medium to long hair, especially for those wanting natural-looking, beachy waves.
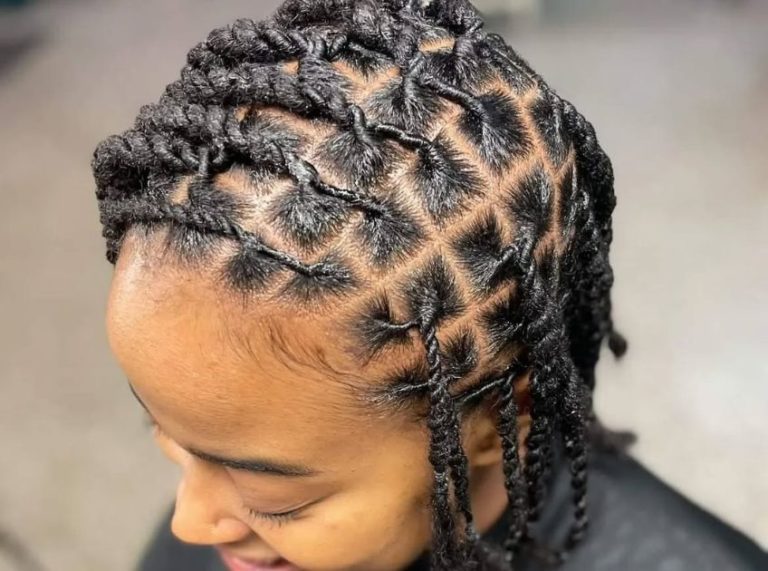
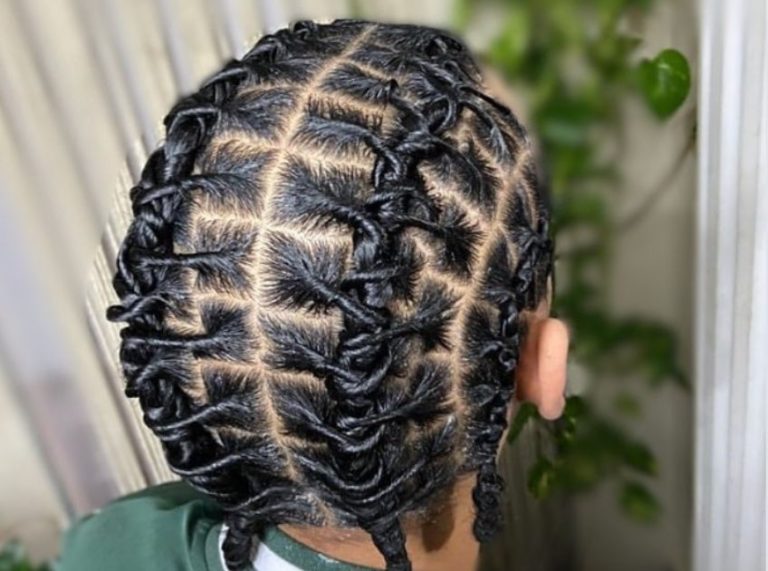
2. Twist Buns for Voluminous Curls
Creating small, twisted buns gives you big, bouncy curls without the need for rollers. This technique adds volume at the roots and works well for fine hair.
How to do it
- Divide damp hair into 4–6 sections, depending on thickness.
- Twist each section tightly from root to tip and coil it into a small bun.
- Secure with soft scrunchies or bobby pins.
- Leave overnight or at least 6–8 hours until fully dry.
- Release each bun gently and separate the curls with your fingers.
Pro tip: For extra hold, spritz a lightweight styling mousse before twisting. Avoid using too much product as it can weigh down curls.
Best for: All hair lengths, but especially great for medium-length hair to achieve full-bodied curls.
3. Heatless Foam or Flexi Rods
Foam rollers and flexi rods are classic tools for achieving tight, defined curls without heat. They work by maintaining a consistent curl shape while the hair dries.
How to do it
- Take small, even sections of slightly damp hair.
- Wrap each section around a foam roller or flexi rod, starting from the ends and rolling upward.
- Secure the rods and leave them in until the hair is completely dry, ideally overnight.
- Gently remove and style with your fingers or a wide-tooth comb.
Pro tip: For longer-lasting curls, use a setting lotion or curl-enhancing cream before wrapping.
Best for: All hair types, especially if you want more defined, ringlet-style curls.
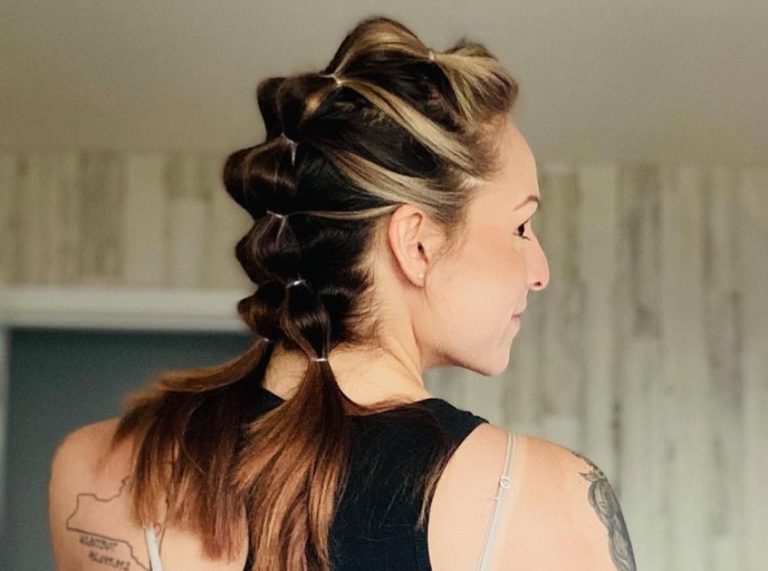
4. Headband Curl Technique
This viral TikTok method creates soft, elegant curls with no braids or rollers. It’s perfect if you want large, flowing waves.
How to do it
- Place a soft, stretchy headband over the crown of your head.
- Take small sections of damp hair and wrap them around the headband, working your way around until all hair is tucked in.
- Sleep with the headband on overnight.
- In the morning, gently remove the band and separate the curls with your fingers.
Pro tip: Use a silk headband or cover your hair with a silk scarf to minimize friction and frizz.
Best for: Medium to long hair, especially if you prefer loose, romantic waves.
5. Sock Curls for Gentle Ringlets
This old-school method is simple, cost-effective, and surprisingly effective for creating soft curls.
How to do it
- Take clean, soft socks and use them as makeshift rollers.
- Wrap small sections of damp hair around each sock and tie the ends to secure.
- Leave overnight and carefully unravel in the morning.
- Gently separate curls and finish with a light mist of hairspray.
Pro tip: The smaller the section of hair, the tighter the curl. For loose waves, use larger sections with thicker socks.
Best for: All hair lengths; ideal for achieving a natural, soft curl pattern without special tools.
Frequently Asked Questions (FAQ’S)
1. How long do heatless curls last?
A. It depends on your hair type and preparation. Using a lightweight mousse or styling cream before curling can help curls last 1–2 days. Fine hair may need extra hold spray.
2. Can heatless curling damage hair?
A. When done properly, no. Unlike heat styling, these methods are gentle. However, avoid pulling hair too tightly into braids or buns, as this can cause tension on the scalp and strands.
3. Do I need to start with wet or dry hair?
A. Damp hair works best because it allows the hydrogen bonds to reset as it dries. Avoid soaking wet hair, as it may not dry fully overnight, leading to frizz or flat curls.
Heatless curls are a simple, damage-free way to achieve stunning waves and curls without relying on hot tools. Whether you choose braids, flexi rods, or the viral headband method, these techniques work with the hair’s natural structure to set beautiful shapes overnight. With a little practice, you can enjoy salon-worthy curls while keeping your strands healthy and strong.