Important: This article is for informational purposes only. Please read our full disclaimer for more details.
The ancient art of yoga is the healing routine many involve in to get relief and improve their overall health issues. Yoga associated treatments have gotten worldwide recognition and till date research is being gathered upon the health revival advantages of Yoga. Yoga asanas have become a way of life for many people with their immense benefits for improving blood circulation, reliving lower back pain, improving heart health and other health positive benefits. Yoga is also an alternative treatment option for pain caused through ankylosing spondylitis and can relieve patient symptoms for a long time.
6 Effective Yoga Poses for Ankylosing Spondylitis
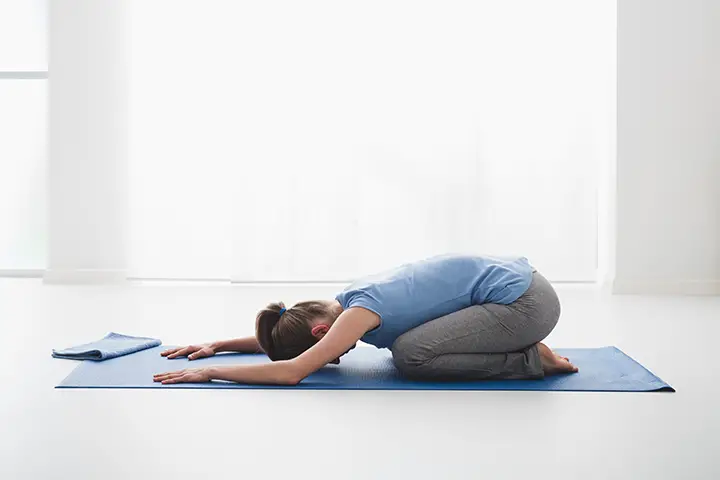
1. The Child’s Pose
The child’s pose or Balasana is known to produce calming effects and completely soothes your brain. The name of this asana is compiled by two Sanskrit words ala’ meaning child and the sana’ meaning pose. With your knees closer to each this exercise massages your internal organs while helping you to develop digestion.
How to do:
- Touch your big toe while kneeling down on floor while sitting on heels. Now, spread knees apart to hip-width while inhaling.
- Exhale while bending forward and laying your torso between thighs.
- Broaden sacrum all across pelvis back and also narrow hip points such that they’re remaining pointed towards navel.
- You can settle on inner thighs.While lifting your head’s base a little away from the neck, stretch away the tailbone from back of your pelvis.
- Now stretch hands forward shoulder width apart. You can do this pose for at least 30 seconds to a few minutes.
How it Benefits:
- The child’s pose also reduces hip pain through the fine opening stretch and maintains overall hip health as well.
- With your legs in folded position you quickly revere tailbone splaying which is the culprit for lower back issues like spondylitis.
- With child’s pose you stretch the specific area of your body.
- Make sure to have meal gap of at least 6 hours before doing this exercise.
[ Read: Yoga for Sciatic Pain ]
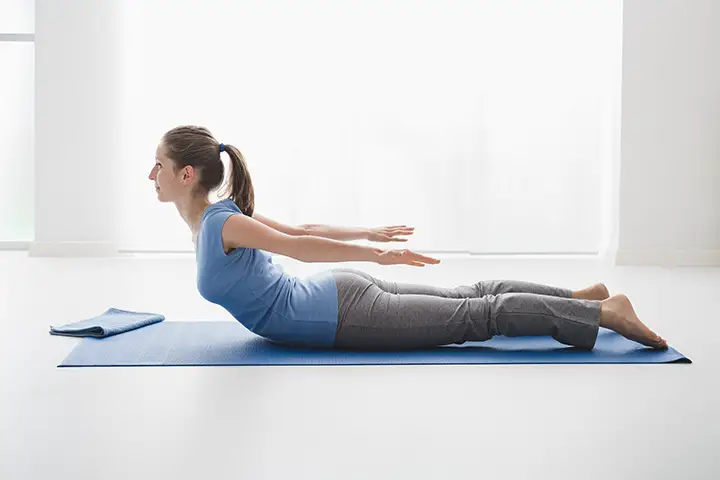
2. Locust Pose
How to do:
- Lie on the stomach with arms along sides, while palms are being up and forehead resting on the floor.
- The bug toes turn towards each other for inwardly rotating thighs and firming your buttocks Now, lift your head while exhaling, with arms, legs and upper torso away from floor.
- Raise the arms making it parallel to floor while stretching back with your fingertips while looking forward.
- Now stay in the position for a minute.
How it Works:
- Perhaps this Asana is mostly associated with curing spondylitis and has shown tremendous recovery for the same.
- Salabhasana or the Locust Pose is efficient for beginners to get deeper back ends and strengthen your torso, arms as well as legs.
- The Asana is well known to benefit spondylitis patients.
[ Read: Yoga Poses for Neck Pain ]
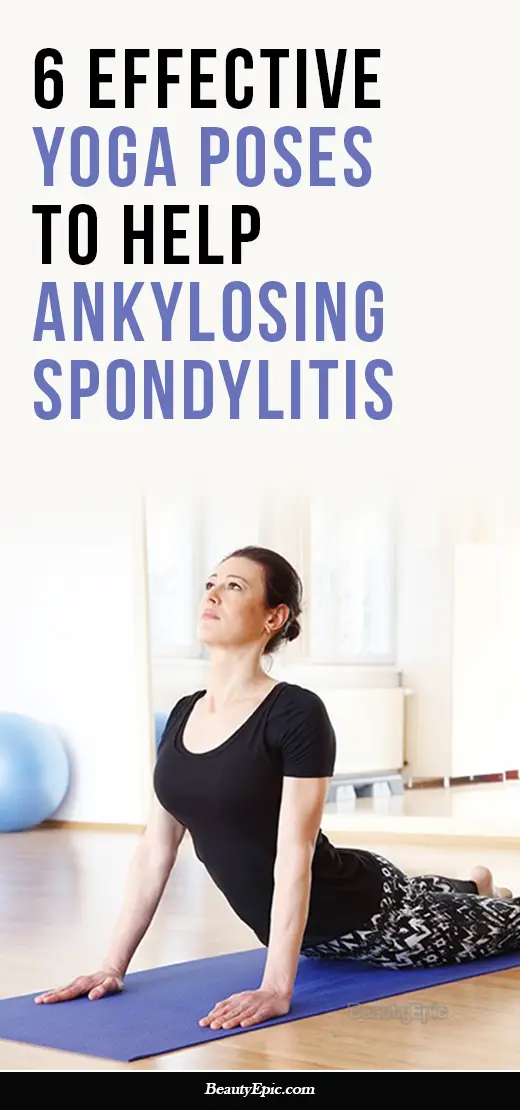
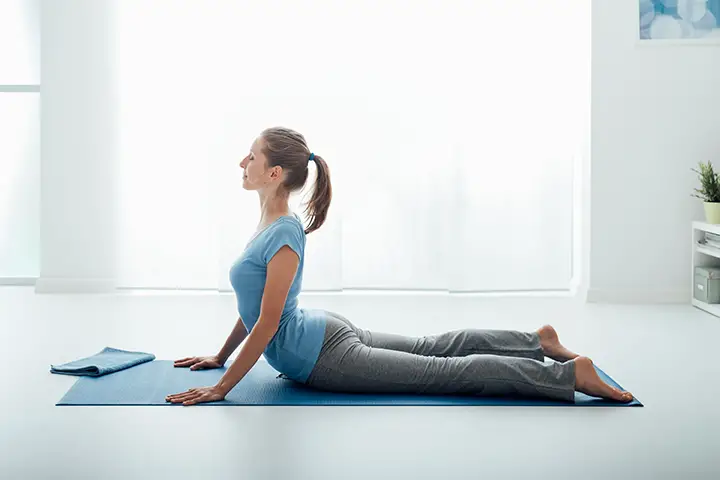
3. Cobra Pose
Better known as the Bhujangasana portrays a hood raised Cobra pose.
How to do:
- Lie down flat on stomach and keep hands on sides while ensuring that your toes are touching each other.
- Move hands to front at shoulder width apart and place your palms on floor.
- Place body’s weight on palms, raise your trunk and head while inhaling. While your doing this your arms have to be bent at elbows.
- Arch the neck backwards and you’ll replicate a raised hood cobra. Now press your thighs, hips and feet on floor.
- While breathing normally you must hold asana for around 15 to 30 seconds.
Note: Avoid this exercise if you suffer from any issues like back injuries, hernia, Headaches, recent abdominal surgery, carpal tunnel syndrome or pregnancy.
How it Works:
- This is one of the best asana to get rid back problem such as spondylitis, get in better shape and strengthen spine.
- The exercise is known to notably improve blood circulation and treats stress symptoms such as fatigue, weakness and headaches.
[ Read: Yoga Poses for Lower Back Pain ]
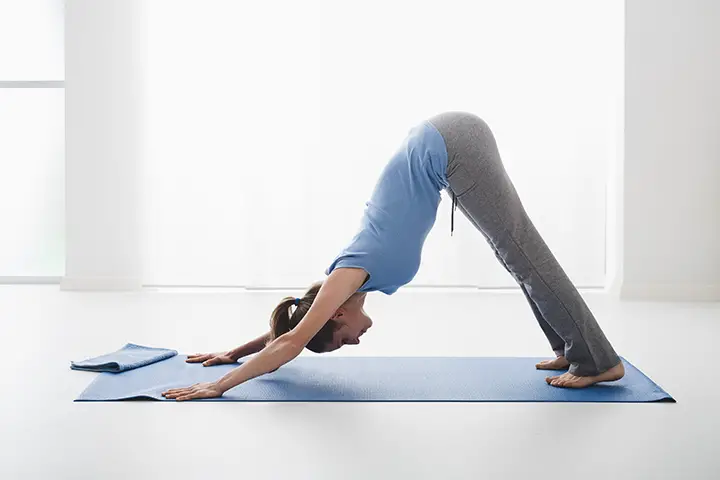
4. Downwards Facing Dog
Downward facing pose is known to provide many health benefits and is one good exercise in the routine of back strengthening.
How to do:
- Be on floor with the support of knees and hands. Your knees must be below hips and hands little forward than shoulders.
- Now spread palms and fingers a little out. Turn your toes inwards. Lift the knees away from floor while exhaling.
- Stretch tailbone away from the pelvis back and then press it gently towards pubis.
- Now while exhaling, push the top tights back and stretch heels downwards towards floor.
- You can straighten knees and shouldn’t lock it as well. Now firm outer arms and press your index fingers bases to the floor.
- Lift with your inner arms through these two points to shoulder tops.
- Hold the pose for around 2 to 3 minutes.
How it Benefit: The exercise has numerous benefits such as strengthening shoulders and arms, lengthening calves and hamstrings, toning core and waist, providing better focus, and many other health benefits.
[ Read: Yoga Poses for Back Pain ]
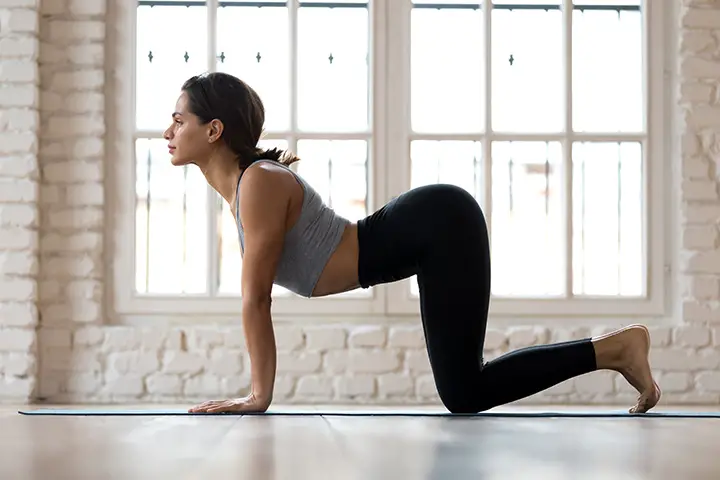
5. The Cat Pose (Marjaryasana)
How to do:
- Be in a tabletop position and distribute even weight in legs and hands.
- Gently lift your knees and wrists off the mat, just a little bit.
- Now exhale belly button toward spine and you can continue the same lift towards heart, you can scoop your tailbone, letting chin rest on your chest and your eyes towards nose.
How it Benefit: The position works wonders for warm up and strengthening your spine. The exercise is breath synchronized and leads to better coordination, invigorates prana (the body’s vital life) and nurtures intentional focus. The position lengthens spine while improving circulation to discs relieving back stress such as spondylitis.
[ Read: Yoga for Weight Loss ]
6. Bridge Pose
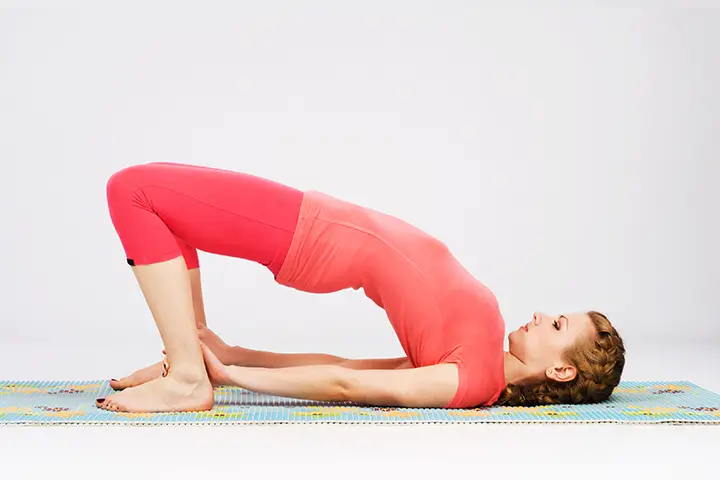
How to do:
- Lie down flat on floor and you can also place thick folded blanket below shoulders for protecting your neck.
- You can bend knees and also set feet on floor. Exhale while pressing arms and inner feet in the floor.
- Push tailbone upward towards your pubis while firming (but not tightening) buttocks and buttocks on floor.
- Keep the thighs and inner feet parallel. Clasp hands below pelvis and extend through arms for helping stay on shoulder tops.
- Lift buttocks while the thighs remain parallel to floor and keep them directly over heels, bust you need to push these forward, away from hips and lengthen tailbone towards back of knees.
- Lift pubis towards navel. Lift chin away from sternum and firm shoulder blades against back, press to top of sternum toward chin.
- Firm the outer arms, broaden shoulder blades, and also lift space between these at the neck’s base up into torso.
- Hold the pose anywhere around 30 seconds to a minute. Exhale while releasing the pose slowly down the floor.
According to a meta-analysis of 10 different studies conducted in 2012, yoga was found to tremendously help in relieving chronic pain from lower back issues. According to the research findings it was also concluded that Yoga is recommendable as a back pain therapy for patients who don’t show improvements with other treatments. So practicing these poses on a daily basis would certainly be effective.
You Might Also Like:
- Home Remedies for Back Pain: Ease Back Pain Naturally
- Top 13 Yoga Poses to Reduce Belly Fat: A Guide to Yoga Fat Loss
- 7 Best Creams For Sciatica Pain
- Yoga for PCOS – 6 Effective Poses to Treat PCOS
- 7 Easy Yoga Poses for Irritable Bowel Syndrome (IBS)
- 5 Best Yoga Poses for Gut Health
