Important: This article is for informational purposes only. Please read our full disclaimer for more details.
Fibromyalgia pain is a medical term used for joint and muscle pains. If you are experiencing painful tender points, deep muscle pain, chronic
Headaches, unending back pain, or neck pain, you know very well what fibromyalgia feels like. What are tender points? How many tender points are there in a human body? You may ask! Tender points are localized areas of tenderness typically above muscles, tendons or bones– that hurt when pressed. And, there are 18 trigger points in total.
Article Contains
Sometimes, it becomes a chronic disorder that entails an unexplained pain in the joints and the muscles. Furthermore, your muscles might feel like they have been overworked even though you haven’t exercised. But doing specific yoga asanas can help you big time in getting relieved from the pain. Here are the best asanas which can aid your fibromyalgia pain:
6 Best Easy Yoga Poses to Relieve Fibromyalgia
1. Tadasana
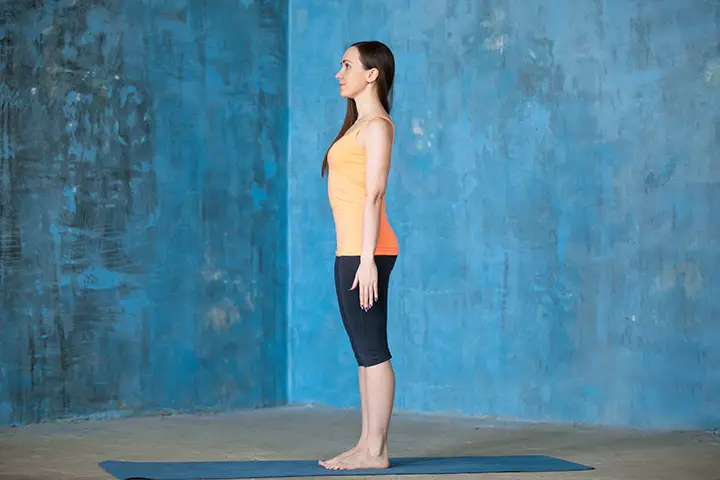
If you feel enormously stressed, then doing tadasana will not only calm you down but will also stimulate your nervous system. Furthermore, it also improves your respiratory and digestive system.
This is How You Do it:
- Stand straight and keep some distance between your feet. Make sure that your hands must be hanging alongside your body.
- Now, while deep inhaling, raise your both the arms upwards and interlock your fingers.
- Simultaneously, raise your heels and stand on your toes. Feel the stretch in your body from feet to fingers of arms.
- Hold this position and your breath for 10 seconds.
- Now while exhaling release your pose to come to the starting position.
Recommended Reps: Repeat this cycle for 10 times.
[ Read: Simple Yoga Poses to Relieve Knee Pain ]
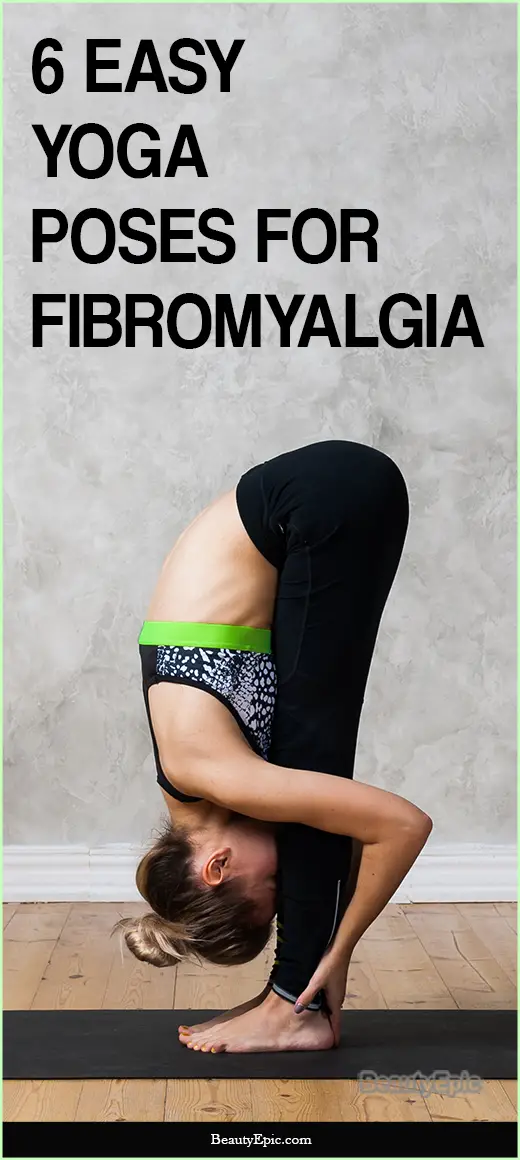
2. Uttanasana
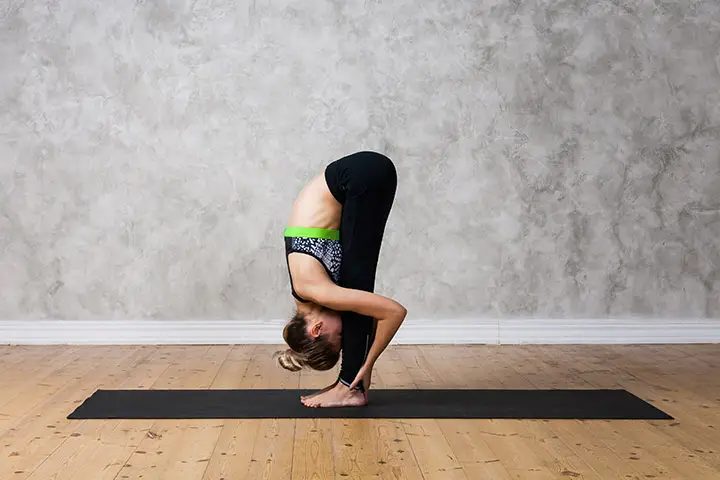
If your desk job demands long hours, then doing this asana is mandatory for your good health. It relaxes your tired muscles and releases lower back tightness. Moreover, it strengthens your liver and kidneys.
This is How You Do it:
- Stand straight on your mat, and rest your hands on your hips. Inhale.
- Exhale and gently soften your knees and bend forward. By counterbalancing the weight of your body, you must move your hips and tailbone slightly back as the rest of your body moves forward.
- Make sure to keep your knees soft as you do all of this. This will allow your buttocks to point up and your hips to move forward into the upper thighs.
- Let your hands rest on the ground, next to your feet. Your feet must be parallel to each other, and your second and middle toes must point forward. Let your chest float over your feet. Widen the space between your chest bone and pubis.
- Feel the fold and the stretch from your hip bone. If you feel it from the rounding of your lower back, you are doing something wrong.
- Turn your thighs inward, and root yourself into your heels. This will allow better alignment.
- Your head must be left to dangle, such that the crown reaches the floor. Look through your legs, and hold the pose.
- When you wish to release the pose, contract the core and the abdomen muscles.
- Inhale and place your hand on the hips. Rise slowly, ensuring there is an elongation in your back. Let there be a distance between your pubis and your chest bone. Slowly stand up.
Recommended Reps: Perform this movement for 8-10 times.
[ Read: Yoga for Pinched Nerve ]
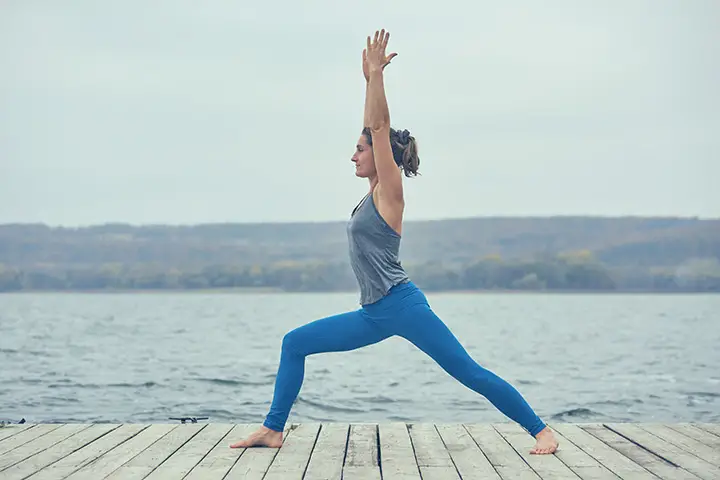
3. Virabhadrasana I
This pose name means “Victor of brave” and hence this pose works out major muscle groups. Not only it stretches and strengthens your legs and ankles, but it also stretches lungs, shoulders, and groins.
This is How You Do it:
- First stand straight and spread your legs; keep a 2 to 4 feet distance between your legs. Keep your right foot in the forward direction and keep the left foot back direction.
- With your right leg turn outwards at 90 degree, keep left leg by 15 degrees and place your heel of the right leg completely parallel to the midpoint of the left leg.
- Raise your arms up to the height of shoulders by keeping your arms parallel to the ground with palms facing upward.
- Breathe out and twist your right knee in a way that knee and ankle makes a parallel line.
- Look to your right side.
- Now stretch your arms and join your palms above your head.
- Keep looking at your palms and slowly push down your pelvis.
- Hold the pose with the same determination as a warrior. Breathe normally and keep going down.
- Remain in this position for a moment; with the feeling that you are a warrior.
- Breathe normally in and come to the standing position.
- Breathe out and slowly put your hands down.
- Repeat this Asana from your left side (look at your left side), by putting your left leg in forward direction and right leg at the back. (Opposite to the earlier process).
Recommended Reps: Perform this movement for 8-10 times.
[ Read: Best Poses to Prevent Osteoporosis ]
4. Viparita Karani
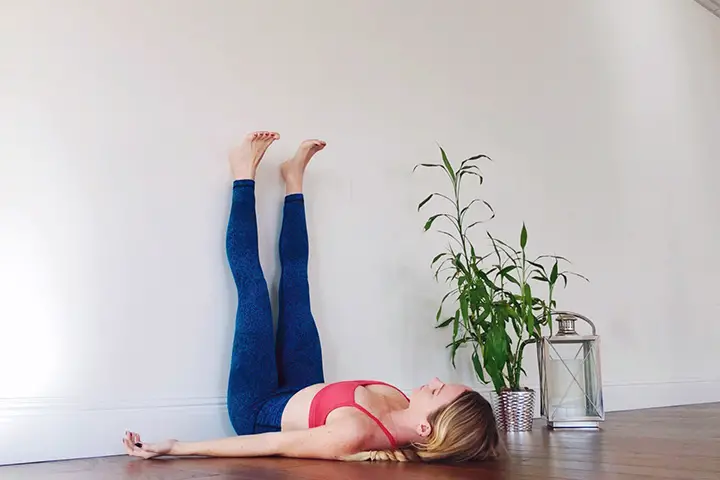
To relieve your fibromyalgia pain, then this asana will work wonders for you. It helps to relax tired, cramped feet and legs. Furthermore, this pose gives the front of the torso, back of the legs, and the back of the neck a good stretch.
This is How You Do it:
- Sit next to the wall in such a way that your feet are on the floor, spread in front of you, and the left side of your body is touching the wall.
- Exhale. Lie on your back, while making sure that the back of your legs press against the wall, and that the soles of your feet face upwards. It will take you a little bit of movement to get comfortable in this position.
- Place your buttocks a little away from the wall or press them against the wall.
- Make sure your back and head are resting on the floor. You will find that your body forms a 90-degree angle.
- Lift your hips up and slide a prop under them. You could also use your hands to support your hips and form that curve in your lower body.
- Keep your head and neck in a neutral position and soften your throat and your face.
- Close your eyes and breathe. Hold the position for at least two minutes.
- Release and roll to any one side. Breathe before you sit up.
Recommended Reps: Perform this movement for 5-6 times.
[ Read: Yoga Poses for Ankylosing Spondylitis ]
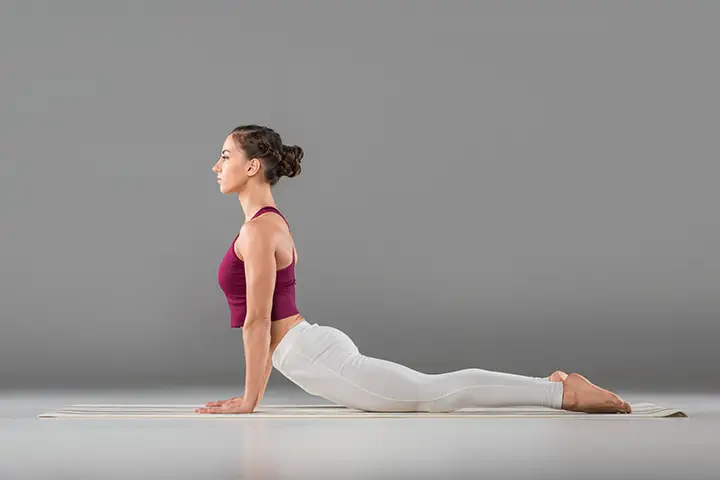
5. Bhujangasana
This pose is invigorating in nature and is named as Bhujangasana because it reflects the posture of cobra that has its hood raised. Not only it improves the blood circulation and oxygen in body, heart and throughout the spinal and pelvic region especially, and it’s stimulates organs in the abdomen, like kidneys.
This is How You Do it:
- Start with lying down on the floor on your stomach on a yoga mat. Keep your feet together with the tops of them against the floor.
- Now, spread your hands on the floor under your shoulders and hug your elbows against your rib cage. Inhale slowly and deeply.
- As you inhale, your arm should be steadily straighten and this feels a little uncomfortable. Extend through and deepen your stretch to create a graceful arc in your back. Use the stretch in your legs and back, in place of exerting yourself to gain height and risk overarching the spine.
- Now, press your tailbone towards your pelvis and lift your pubis toward your navel, in this trying to narrowing your hips.
- Keep your shoulders broad but in relaxed, with the blades low on your back. Now lift from the top of your sternum, but try to avoid pushing the front of your ribs forward.
- Puff your side ribs forward and keep your lower back in a relaxed, and distribute the stretch evenly along your spine. In the process of up and down, inhale when your bent upwards and hold your breath for few seconds and in down position exhale.
- In upward position trying to hold and your breathe also for some seconds, and release your breathe while getting back to starting position or lying down position.
Recommended Reps: Repeat this movement for 8-10 times.
[ Read: Yoga Poses to Ease Sciatica Pain ]
6. Baddha Konasana
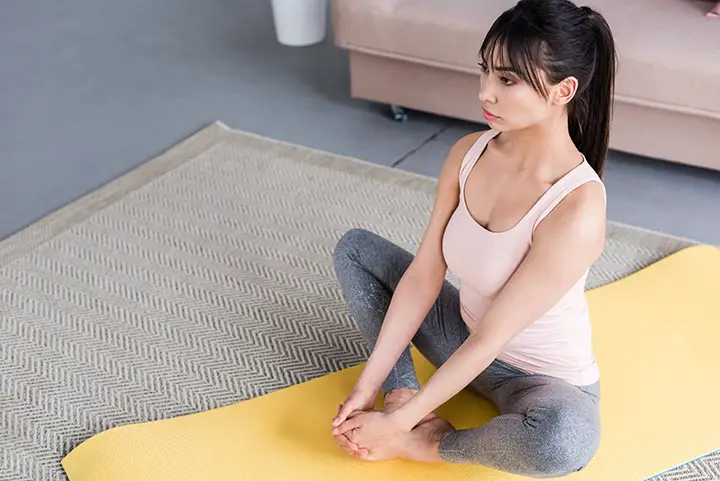
This asana helps to curing asthma, flat feet, infertility, and high blood pressure. It is said that regular practice of this asana can keep you free of any kind of disease.
This is How You Do it:
- Now Bend your knees and join the soles of your feet.
- Now hold your feet or ankles.
- Move your heels to the groin as so much as possible.
- Breathe out and let down your knees to the ground.
- Your arms and shoulders should be relaxed.
- Now press the sitting bones within the floor and let the crown of your head pointing towards ceiling to elongate the spine.
- Press the sitting bones in the floor and let the crown of the head point to the ceiling to lengthen the spine.
- Assume that your knees moving like the wings of the butterfly.
- Hold this Pose for upto 2 minutes.
- After that return in Dandasana (Staff Pose).
Recommended Reps: Perform this movement for 8-10 times.
Including these yoga asanas in your daily schedule, you can fight the fibromyalgia pain and get relief instantaneously. Tag along your family and friends in your next yoga class.
You Might Also Like:
- Best Yoga Poses for Weight Loss
- 7 Best Creams For Sciatica Pain
- Yoga for Thyroid – 7 Best Poses to Control Thyroid
- 8 Yoga Poses to Detox Your Body
- Yoga for PCOS – 6 Effective Poses to Treat PCOS
