Important: This article is for informational purposes only. Please read our full disclaimer for more details.
A herniated disc is quite painful and occurs when the disc gets places in between the vertebrae tear and interior of the disc protrudes. Both backs and legs get affected by this. Yoga can provide relief to people suffering from a herniated disc.
[ Read: Yoga Poses to Relieve Hip Pain ]
5 Effective Poses To Treat Herniated Disc
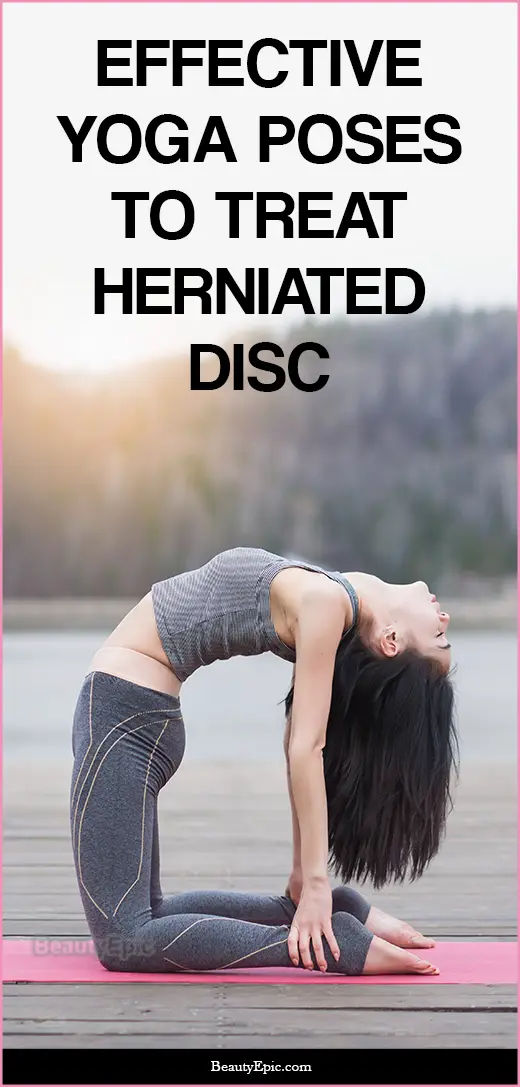
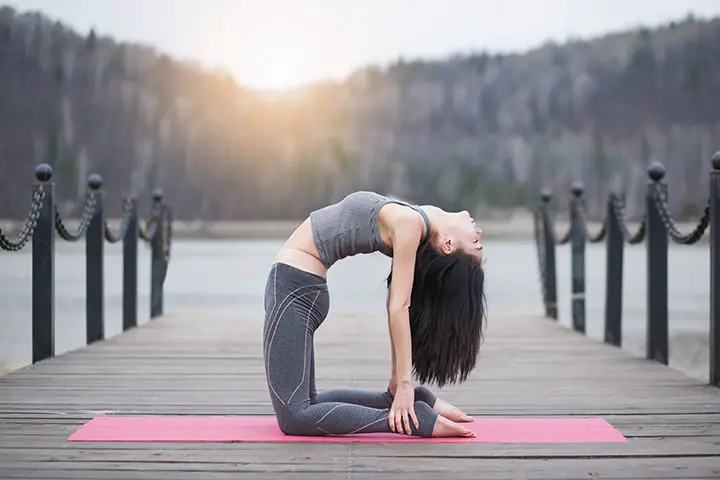
1. Camel Pose
How to Do:
- Kneel on the floor and keep hands on the hips.
- The feet’s top part needs to be on the mat.
- Lengthen the spine and bend backward slowly as you gradually place both the hands on the heels.
- Bend the head backwards and stretch out the neck.
- Slide on the hands to the soles of your feet.
- Maintain the pose for 30 seconds.
Number of Repetitions: Do this 5 times holding for 30 seconds.
How it Helps: It increases flexibility in the spine and can improve circulation. The pose is known to be greatly beneficial for people suffering from a herniated disc.
[ Read: Morning Yoga Poses to Start Your Day ]
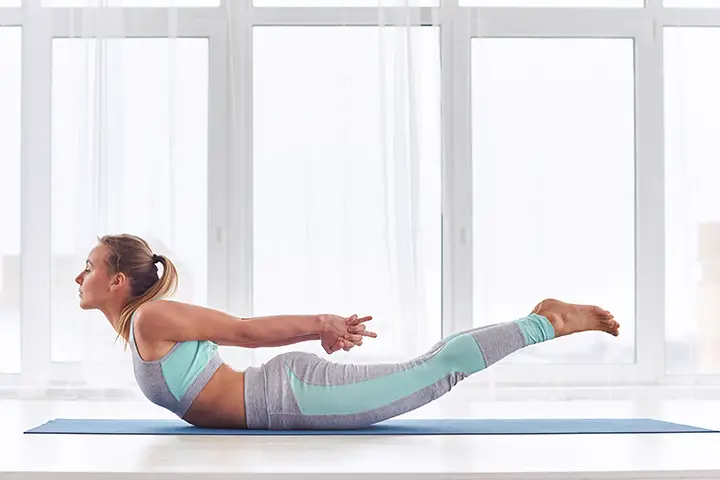
2. Locust Pose
How to Do:
- Lie on your belly flat on the floor. You can use soft padding if required.
- Stretch the arms along the body and rest the face and forehead on the floor.
- Inhale to lift up the chest, legs, heads, and arms off ground.
- Make sure that the legs are straight with your arms flat on sides.
- Spread out the fingers and toes. Concentrate on inhaling.
- Maintain the pose for 30 seconds.
Number of Repetitions: Repeat this 10 times holding the pose for 30 seconds.
How it Helps: The pose and improve blood circulation and work on flexibility. It can also strengthen the back and core muscles.
[ Read: Yoga Poses for Fibromyalgia ]
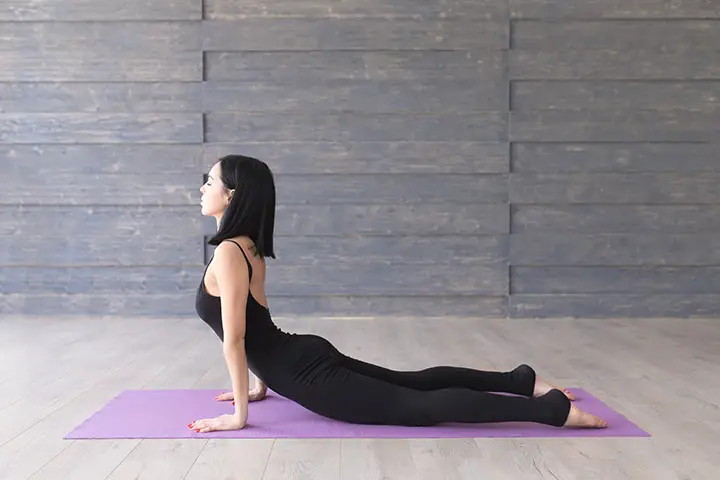
3. Cobra Pose
How to Do:
- Lie on the floor on your belly and keep the palms beneath the shoulder.
- Feet top has to be flat on the floor.
- Engage the abs as you draw in the belly button and tilt the section of your pelvis.
- Press the palms and then spread the fingers.
- Bring the shoulders back.
- Push the upper part of the body off the surface while keeping the arms straight.
- The legs, hips, and feet have to be planted on the floor firmly.
- Lift your chest and tilt the chin up.
- Maintain this pose for 30 seconds.
Number of Repetitions: Do this 5-10 times holding the pose for 30 seconds.
How it Helps: It can strengthen the shoulder and the arms. The pose can stretch your muscles in torso’s front section.
[ Read: Yoga Poses to Heal a Pinched Nerve ]
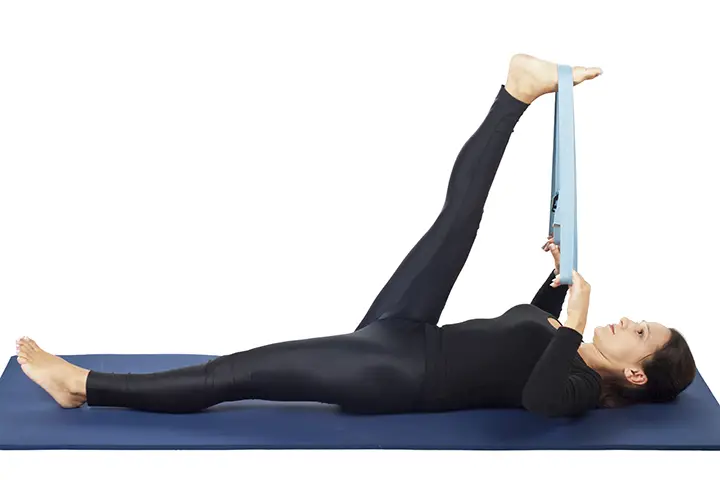
4. Supta Padangusthasana
How to Do:
- Lie on your back with the legs stretched outward and the feet flexed. Press the feet through the heels.
- Pull the right knee towards the chest and exhale. Loop around a strap at the right foot arch.
- Straighten and stretch the legs right up to the ceiling to make sure that the arms are stretched and the shoulders are pressing floor.
- Keep extending the left leg and pressing the left thigh top-down with the left hand. The right leg’s extension needs to create a comfortable stretch towards the back of the leg.
- Hold the pose for 30 seconds. Move back to position.
Number of Repetitions: Repeat it 5-10 times on each side.
How it Helps: It gives hips, thighs, groin, and hamstring a good stretch. The posture can also keep your knees strong.
[ Read: Yoga Poses to Heal Adrenal Fatigue ]
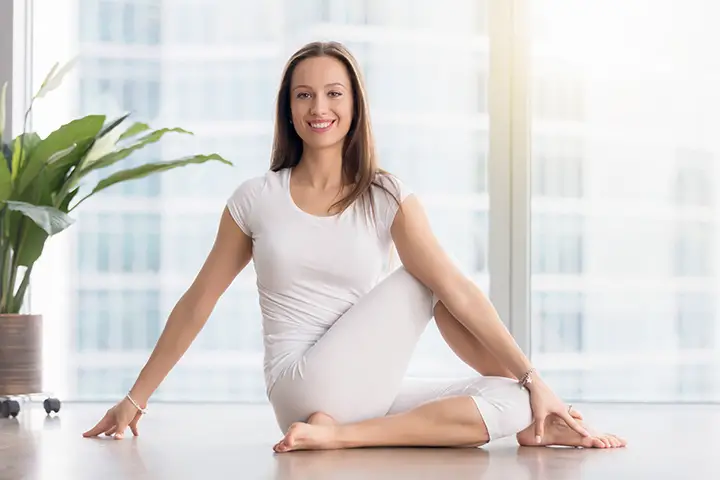
5. Bharadvaja’s Twist
How to Do:
- Sit on the floor and keep the back straight. The legs should be stretched in front of you. Keep the hands close to the hips.
- Bend the knees, bringing it closer to the left hip and rest the left ankle’s inner side on the right thigh’s arch.
- Inhale to stretch the spine and extend as much as you can. Exhale while twisting the upper trunk as much as possible. Keep the right hands on the floor and the left hand on the outer part of the right thigh.
- Bend the upper back part a little and twist it close to the backbone.
- Turn head to look over the right shoulder and hold this pose for around a minute.
- Exhale and come back to the center.
Number of Repetitions: Repeat this 5 times on each side.
How it Helps: It gives shoulders, hips, and spine a good stretch and can massage the abdominal organs. The pose can relieve sciatica, neck pain, and also lower back pain.
While you practice the yoga to get relief from the pain, you should also watch your diet. Maintain a diet containing plenty of vegetables.
You Might Also Like:
- Home Remedies for Back Pain
- Yoga Poses to Prevent Osteoporosis
- 5 Effective Yoga Poses to Treat Acid Reflux
- 5 Best Yoga Poses for Gut Health
