Important: This article is for informational purposes only. Please read our full disclaimer for more details.
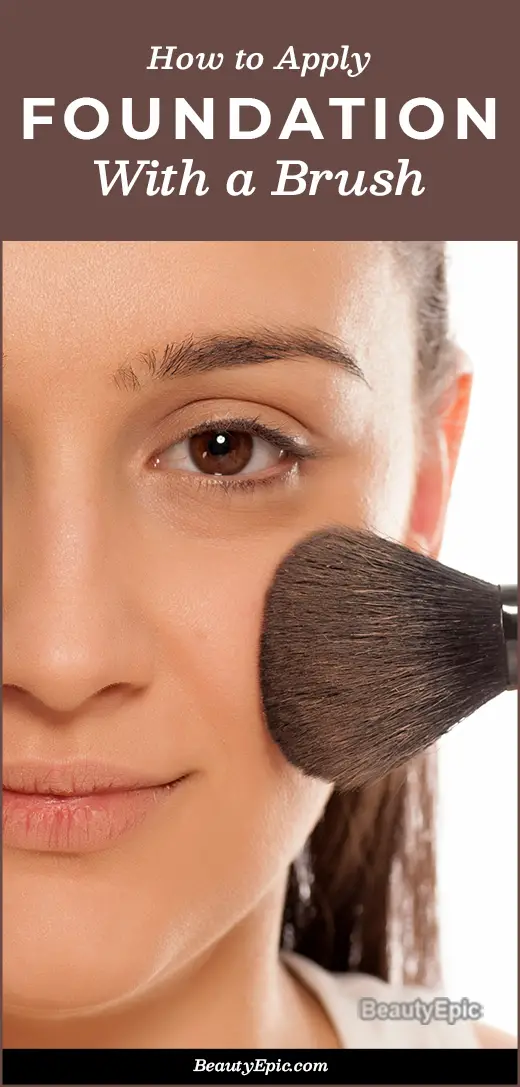
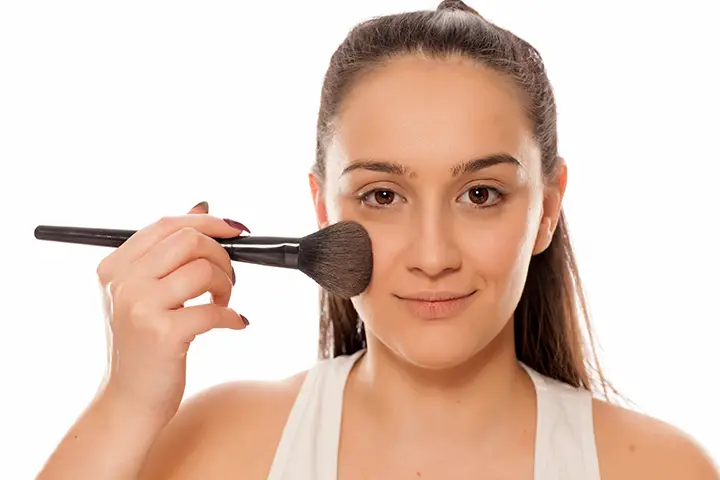
Applying foundation is one of the most challenging tasks because we want even application, perfect texture, and smooth blending. Those who are very much aware of their makeup routine use foundation brush as it helps in dabbing the product perfectly. Other than the foundation brush, your fingers do a pretty nice job only if you are a complete pro.
If you are an amateur in makeup application, here is a simple approach to nail this technique easily. After a few applications, you will be an expert, check it out here.
Use a foundation brush correctly to get a flawless and gorgeous-looking complexion. What’s more, the best thing about using a foundation brush is that it lets you be quick and de-cluttered. With other application methods, you won’t be able to get a precise finish and even application.
Article Contains

Why Use a Foundation Brush?
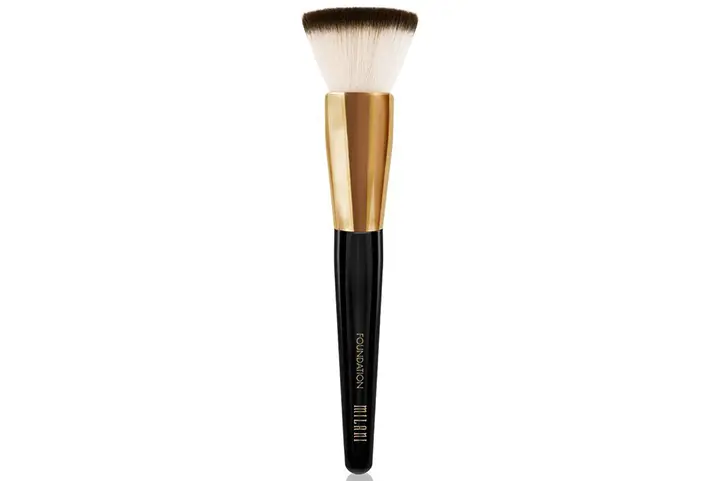
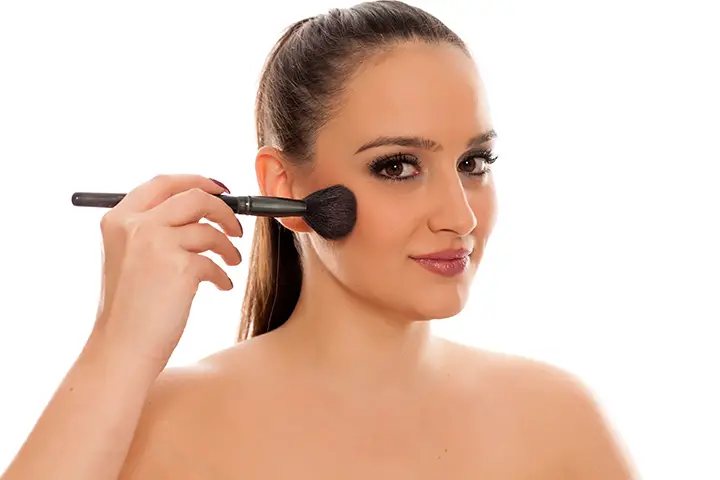
With fingers, you might experience fingerprints on your skin whereas the brush gives a seamless finish. The foundation brush buffs the skin in circular motions that are not possible with a finger or sponge.
How to Apply Foundation
Here are the Steps to Apply Foundation with a Brush:
1. Primer
The very first thing to do is use a primer on your skin. Primer not only evens out the skin but also makes it smooth for the foundation to set on smoothly.
To make the makeup last longer, primer acts as an excellent base that doesn’t let the makeup wear off in a few hours.
The makeup wears off where there are a lot of pores so focus on these areas and apply more primer around your nose and under the eyes.
[ Read: How To Apply Makeup Primer ]
2. Foundation
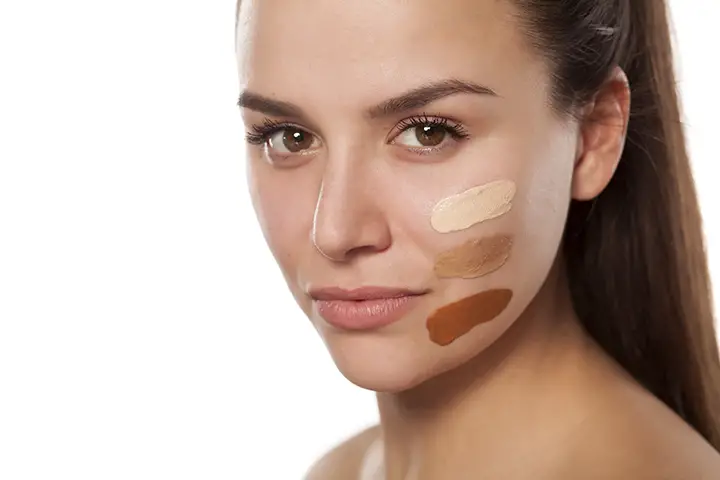
Now pick the right foundation according to your skin type, tone, and texture. If you have oily skin, go for a water-based foundation and if you have dry skin, a foundation that provides enough moisturization to your skin is an ideal pick. Pump out some of the product at the back of your hand and start applying it with a brush.
[ Read: How To Apply Liquid Foundation ]
3. Foundation Brush
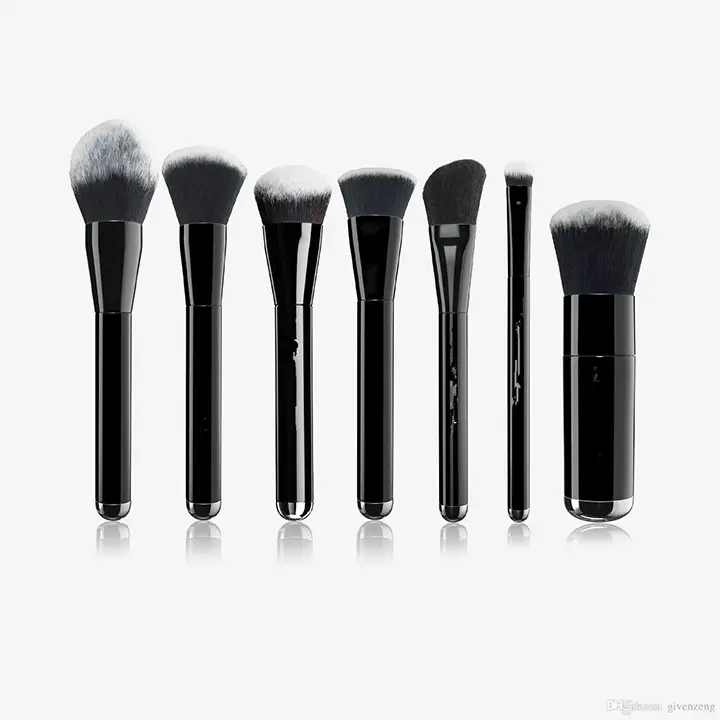
As you know, there are many ways to apply foundation on your skin and the best among all is using a foundation brush. With a brush, you get a flawless and even finish but it all depends on the choice of brush. For full coverage, you need a flat foundation brush as it helps in giving natural look.
Furthermore, if you want a more natural appearance, go for a buffing brush instead of the foundation brush.
[ Read: How to Apply Foundation ]
4. Blot Excess of the Product with a Tissue
The next step is to blot the excess foundation using tissue paper. Do you want a cakey look on your face? Then blot out the product for a smooth and even appearance as it will prevent creasing or wrinkles after some time.
Make sure to keep the eyes and nose in focus as the products build up there making the face look cakey. After applying the foundation, wait for some time and let it sit properly before applying any other product on the face, or else the products will mix with each other making your skin look strange.
5. Add Color
To get a beautiful appearance, add a pop of color on top of the foundation. Go for a blush, highlighter, bronzer, or glitter to add a hint of drama. Never go too loud with these as they will make you look ugly instead of beautiful. Of course, you are not going to an art show or a circus.
[ Read: How To Apply Blush Correctly ]
6. Set the Foundation
All set to go and turn the heads towards your glowing skin! Now that you have applied the foundation and the rest of the makeup, it’s time to spray some perfume and head to the party, ready? Once when you are done with the makeup, don’t forget to set it up with a setting powder to seal the look and make it last longer. The setting powder will keep the foundation intact on the skin and prevents it from chipping or cracking. Lastly, apply makeup setting spray and you are all ready to leave the house.
Bonus Tip: Always wash the brushes after use and let them air dry to maintain longevity or else the bristles will become hard.
You Might Also Like :
- How to Choose the Right Foundation for Your Skin Type and Tone?
- How to Choose The Right Foundation Brush?
- Why Does My Foundation Look Patchy and Dry? 4 Possible Reasons
- Skin Tint vs. Tinted Moisturizer vs. Foundation: Which Is Right for You?
- 7 Best Cushion Foundations For Oily Skin
- 7 Best Cushion Foundations For Dry Skin
- Can I Use Foundation with SPF as a Sunscreen?
- 7 Best Foundations For Combination Skin
- Foundation Vs Concealer: What’s the Difference?
- How To Apply Foundation Correctly – A Step By Step Guide
- How to Apply Powder Foundation for Beginners?
