Important: This article is for informational purposes only. Please read our full disclaimer for more details.
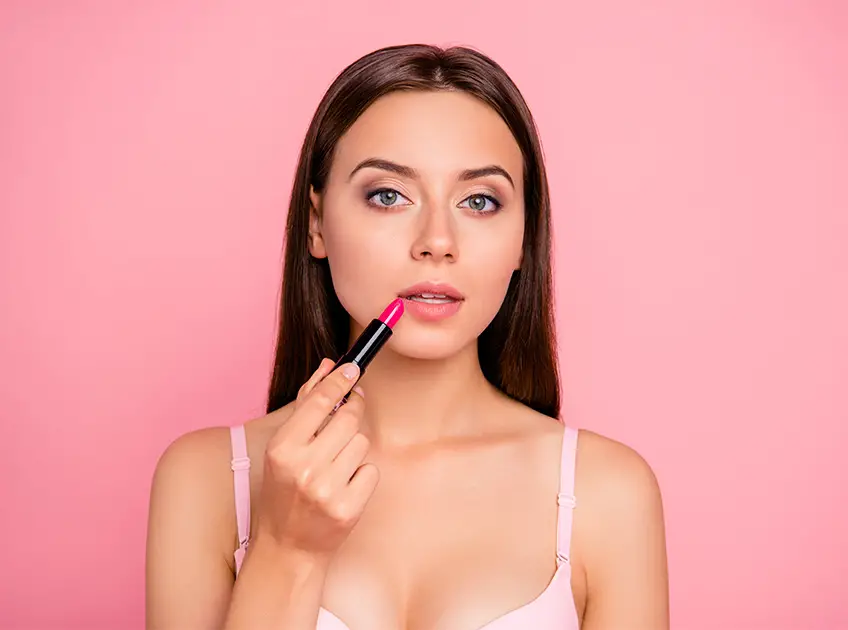
Ready for a party or a meeting and the lipstick is already gone? Applying your favorite lip color over and again is a complete mess especially when you are all set to leave the house. The first and last thing to worry about the lipstick is it smudging unnecessarily. So will an expensive lipstick last longer? Yes, sometimes they do but sometimes not!
Getting a fresh formula that doesn’t stick on the wine glass is really hard to find given the huge assortment of lipsticks in the market. Whether you buy a lipstick for casual use, formal wear or bridal wear, they tend to go off after a while unless some harsh chemical is used in the manufacturing. But you wouldn’t want to apply chemically infused product as it will make the lips dry and flaky. So here is the step by step approach on getting life proof lips no matter which brand are you hopping on to.
Touch up every 2 hours is really hard so check out these easy hacks to make the lipstick stay on for longer.
6 Make Lipstick Last Longer
1. Hydrate and Exfoliate
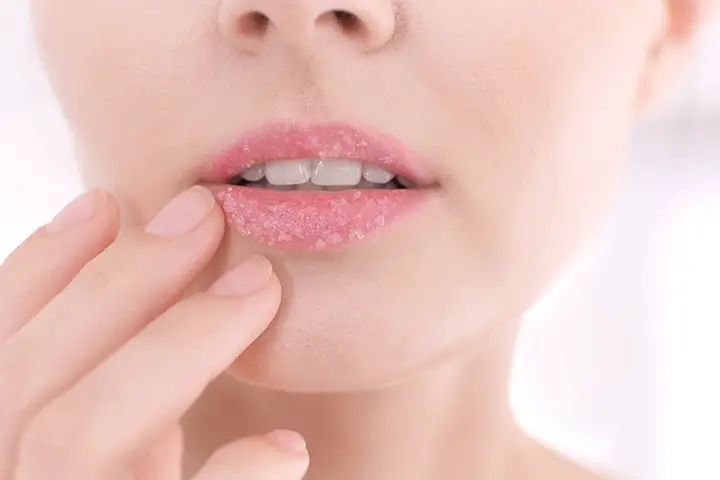
Sugar scrub is excellent for lips as well as body. To make your lipstick stay on, exfoliate your lips with a sugar scrub. All you need to do is apply the scrub, let it sit for a while, rub off, and remove with a damp cloth. The skin will get smooth on which you should apply a lip balm to hydrate. The properly hydrated lips hold the lipstick for long and also the lips don’t look dry.
2. Prime and Prepare
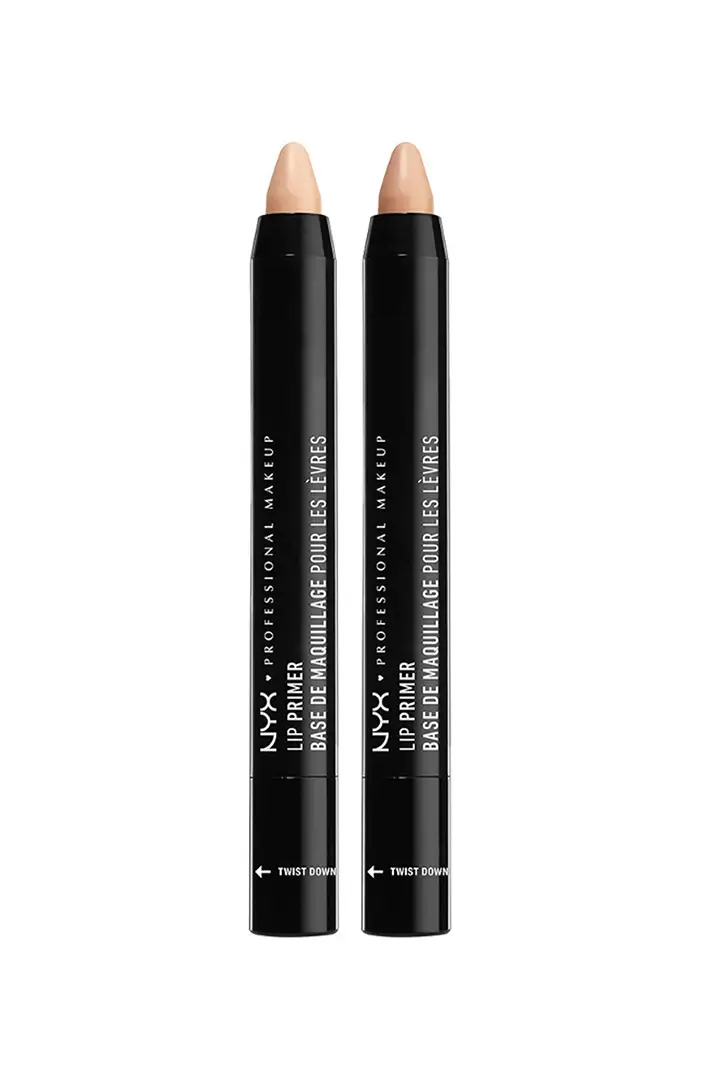
Now before you jump on to the lipstick tube, prime up your lips. Use a primer on the lips to prep them up for the next step. Basically, a lip primer is for those who don’t use foundation on a regular basis. Otherwise, the foundation can be applied on the lips to make a nice platform for the lipstick. The primer is for extremely dry lips as it provides extra moisture for the lipstick to stay.
[ Read: How to Choose the Right Foundation Shade ]
3. Line up and Fill
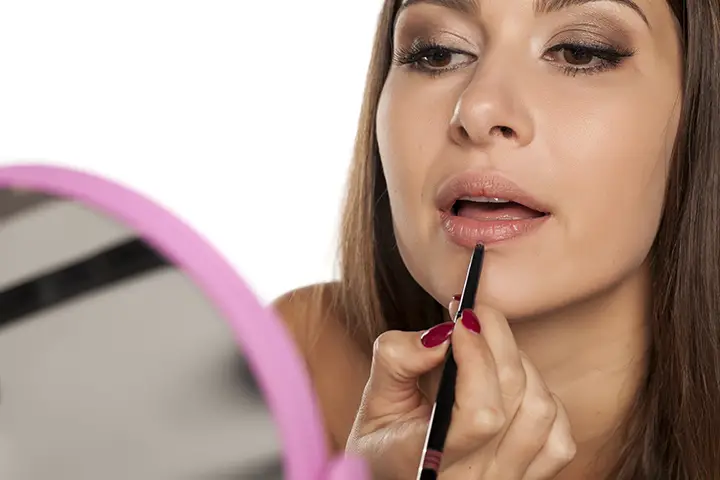
Line up and fill your lips! Wait! Don’t you use a lip liner before applying the lipstick? Let me explain. A lip liner gives nice shape and enhances the curves of your lips so if you have never used it, do it now. Draw a line around the edges of your lips and if you want, fill your lips as well with the same lip liner as the lipstick shade. Using a lip liner before lipstick makes it last longer than ever.
[ Read: How To Apply Lip Liner Perfectly ]
4. Apply
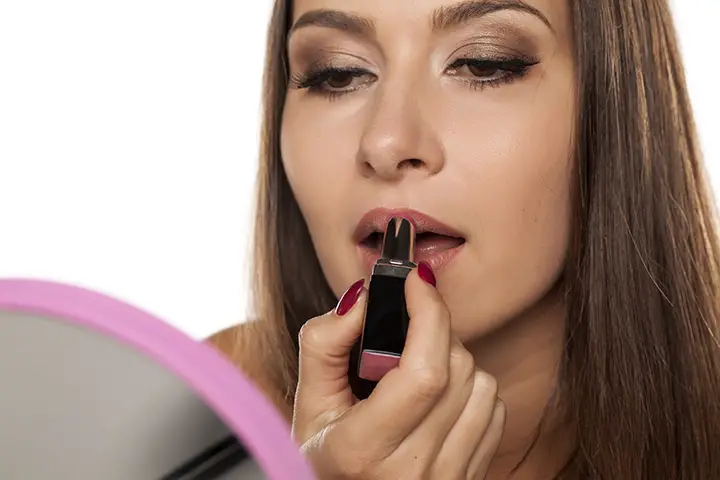
Next, take your lipstick and apply over your lips with a lip brush for best results. Since liquid colors are pretty easy to apply, you can go for whichever you want. If you want longer stay, matte lipsticks are the best. Yes, they make the lips a little dry but for long lasting stay, they are amazing. Always check the ingredient list and make sure the lipstick is lightweight, waterproof, and silky touch.
[ Read: How to Apply Lip Gloss ]
5. Blot
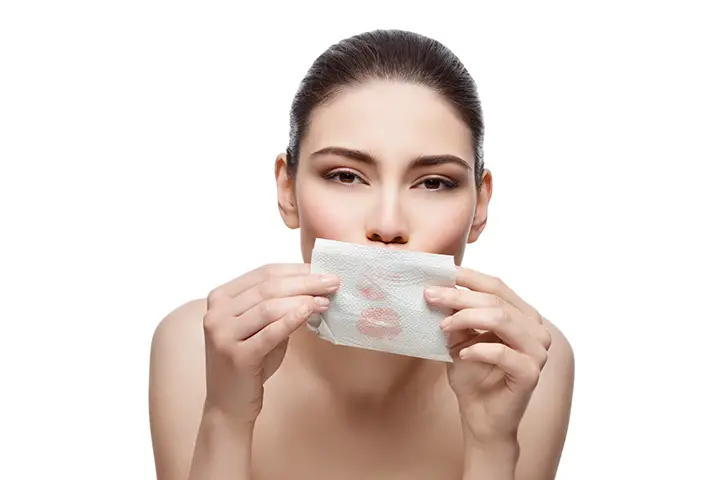
Once the application is done, blotting is the next step. Blot the lipstick with a tissue paper, apply the second coat, and repeat the process once more. Keep doing until you get the exact color you want.
6. Set with Loose Powder
The last step is to set it up with finishing or loose powder. There are many powders available which you can choose according to your budget and other requirements. Just a little dab and there you go.
Loose powder guarantees your lips don’t look cakey or flaky. Dip in the brush and swish it over your lips a little and then shed off. A powder avoids lipstick transfers but if you have dry lips, you should avoid it as it will make them even drier.
Making the lipstick stay on for hours is essential as no one has the time for mid party touch ups. Don’t we always crave to look like those elite ladies who are up-to-date with their dressing, makeup, and poise? These steps will make your lipstick last longer and induce self confidence inside so you can rock the party like others. Get ready to spot that flawless makeup as well as the lipstick and avoid that embarrassing moment when you leave your lip marks on the glass.
You Might Also Like:
- How to Apply Lipstick Perfectly Like a Pro
- How to Apply Lip Gloss Over Lipstick?
- How to Apply Red Lipstick Perfectly – A Step-By-Step Tutorial
- 11 Interesting ways To Use Lipstick
- From Classic Reds to Frosted Blues
- How to Exfoliate Lips the Right Way
- 7 Best Cream For Upper Lip Wrinkles
- How to Choose the Best Lipstick for Your Skin Tone?
- How To Make Your Lipstick Last Longer
- 7 Best Red Lipsticks For Dark Skin
- 7 Best Nude Lipsticks For Olive Skin
- 7 Best Lip Colors For Fair Skin


